Man
Professional
- Messages
- 3,222
- Reaction score
- 1,216
- Points
- 113
In this tutorial we will show you how to use SocialFish to get our victim's accounts.
In this tutorial, we will show you how to use social engineering techniques with the SocialFish tool to obtain our victim's accounts.
The latest version of SocialFish introduces an intuitive user interface for managing and creating phishing. The latest version is also easy to use for those who have little to no knowledge of phishing.
After loading, we go to the directory:
Once in the directory, we need to download all the requirements to run and use SocialFish:
Once the installation is complete, we are ready to start the phishing attack.
To do this we use the command below:
To run the tool, we use the following syntax:
In the “<username>” field we will set the username we will use to log in, and in the “<pass>” field we will set the password we will use.
We will run it as shown below:
From the main page we can start a phishing attack on our target.
As shown in the image above, we have a field to enter the link of the site we want to clone and a field to enter the web page we want to be redirected to.
Once complete, we can generate a full phishing report using the button on the main page. At the bottom of the phishing page is where we can review our phishing reports, as well as perform deeper information gathering on our targets. We can scan for open ports and even use shodan to gather additional information.
In this tutorial we will be doing a custom attack so we will be using a custom page as shown in the image below.
Now, after the user enters their credentials, they will be redirected to google.com:
Ngrok will help us tunnel the traffic sent through the port we are using on SocialFish, which is port 5000, using the following command:
You can share the link generated by ngrok with the victim. When he/she clicks on the link, he/she will be directed to the login page.
Once the victim enters the email address and password to log in, they will be redirected to the link we provided earlier.
The victim's account data arrived to our admin panel and we can use it for our own purposes.
In this tutorial, we will show you how to use social engineering techniques with the SocialFish tool to obtain our victim's accounts.
The latest version of SocialFish introduces an intuitive user interface for managing and creating phishing. The latest version is also easy to use for those who have little to no knowledge of phishing.
1. Installing SocialFish
To install SocialFish, we can either download it as a zip file or clone the github repository using terminal by running the following command:
Code:
git clone https://github.com/UndeadSec/SocialFish.gitAfter loading, we go to the directory:
Code:
cd SocialFishOnce in the directory, we need to download all the requirements to run and use SocialFish:
Code:
pip install -r requirements.txtOnce the installation is complete, we are ready to start the phishing attack.
2. Launch SocialFish
Once the installation is complete, we need to make the SocialFish.py file executable.To do this we use the command below:
Code:
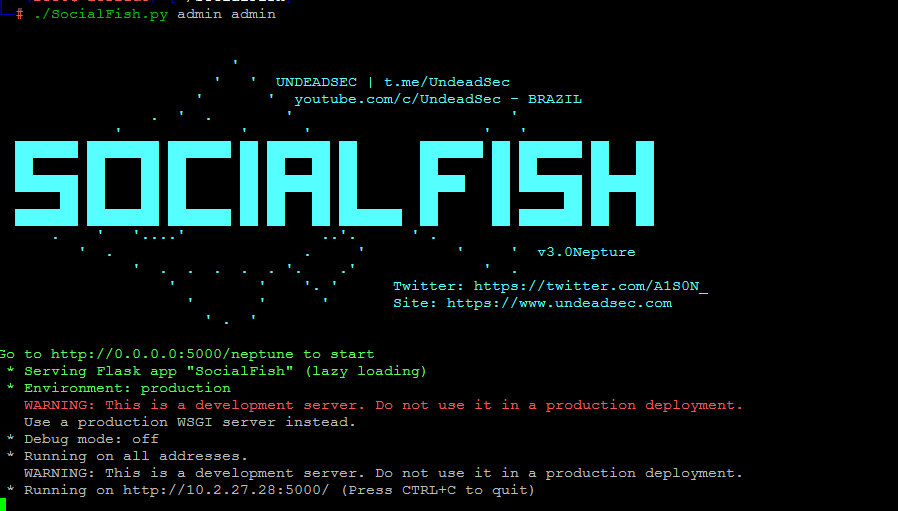
сhmod +x SocialFish.pyTo run the tool, we use the following syntax:
Code:
./SocialFish.py <username> <pass>In the “<username>” field we will set the username we will use to log in, and in the “<pass>” field we will set the password we will use.
We will run it as shown below:
3. Login to the main page
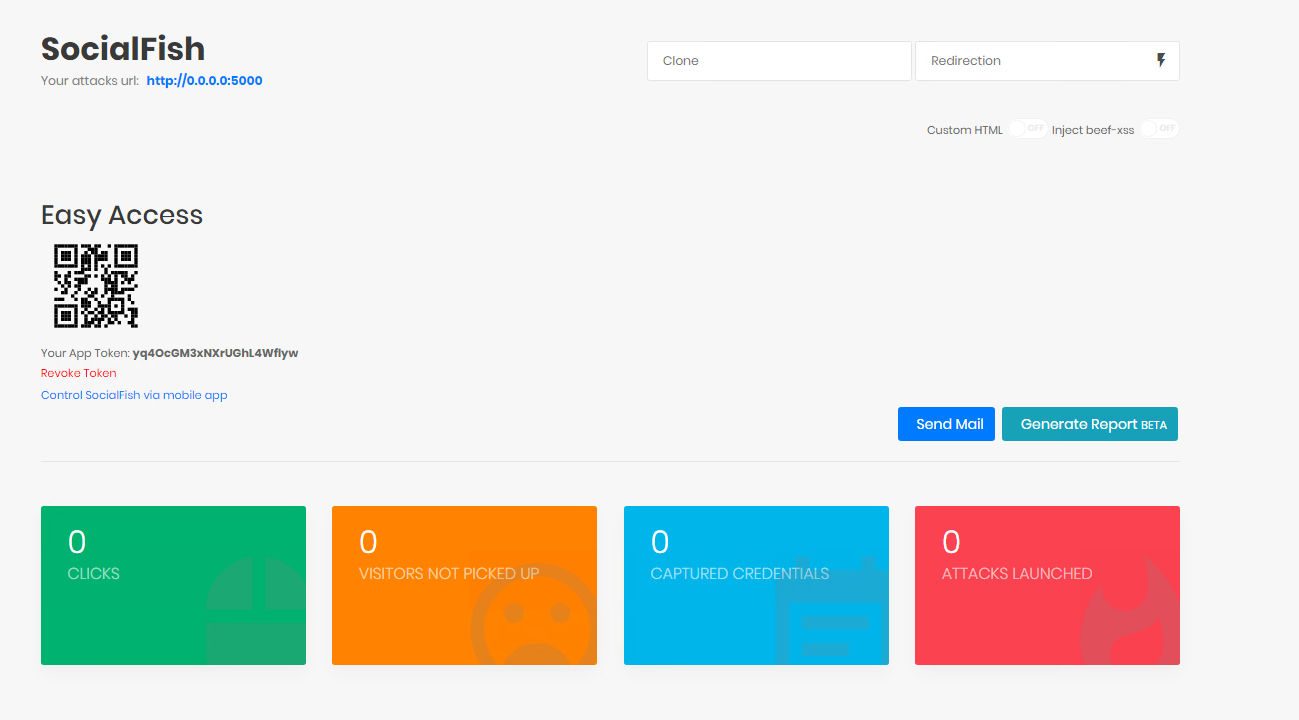
We open our favorite web browser and go to the above link to log in as shown in the image below.From the main page we can start a phishing attack on our target.
4. Launching a phishing attack
Once we enter the main page, we can see various useful components that we can use in our phishing.
As shown in the image above, we have a field to enter the link of the site we want to clone and a field to enter the web page we want to be redirected to.
We have the ability to embed beef-xss into our phishing page for use with the BeEF tool.You can also choose to use a custom HTML page.
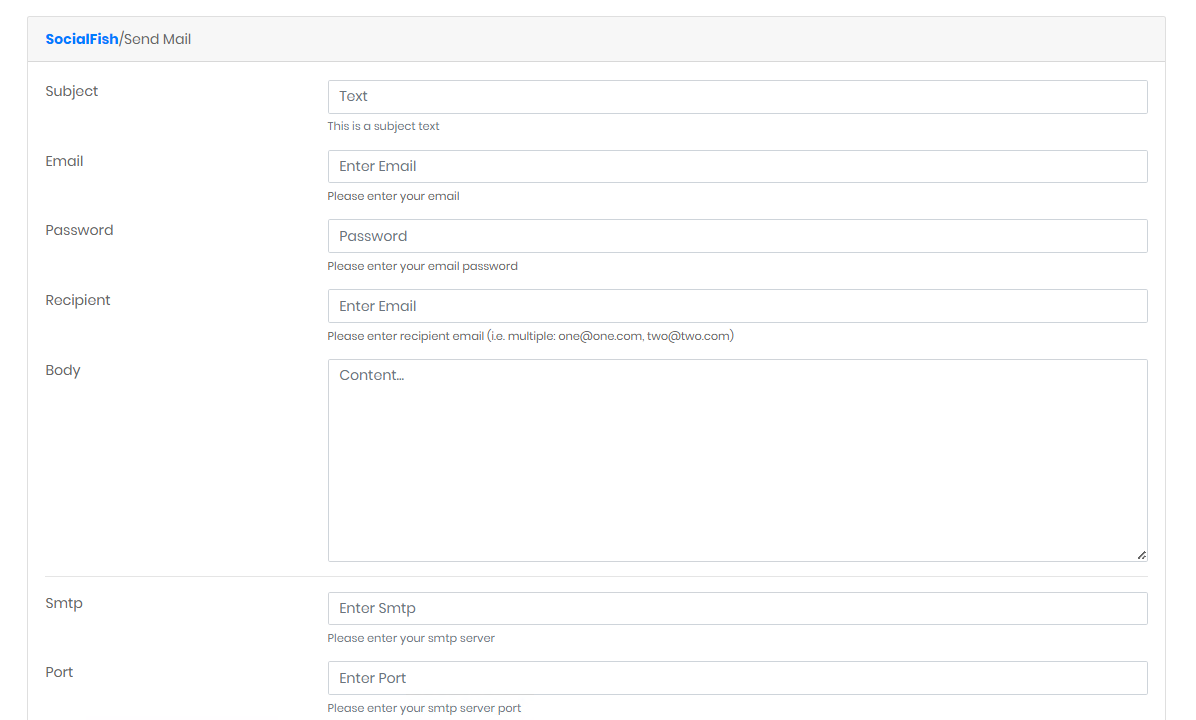
The “Send mail” option will allow us to send a phishing email directly to the target mailbox from the main page, as shown in the image below.SocialFish also has an access token in case you want to connect it to your android app to more easily manage phishing attacks.
Once complete, we can generate a full phishing report using the button on the main page. At the bottom of the phishing page is where we can review our phishing reports, as well as perform deeper information gathering on our targets. We can scan for open ports and even use shodan to gather additional information.
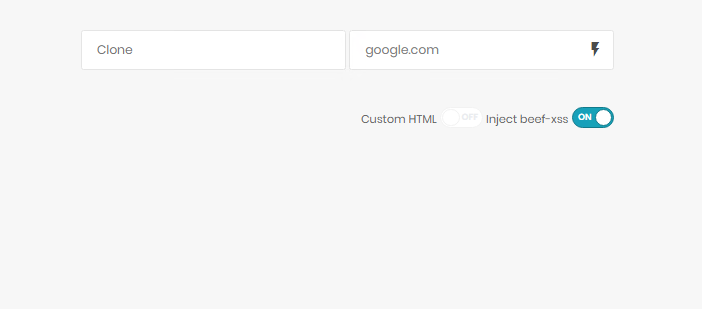
In this tutorial we will be doing a custom attack so we will be using a custom page as shown in the image below.
Now, after the user enters their credentials, they will be redirected to google.com:
5. Using Ngrok with socialfish
This step is usually optional and is only used if your target is not on the same local network as you. Using this option will make the instance of SocialFish you are running accessible to any user as long as they have an active internet connection.Ngrok will help us tunnel the traffic sent through the port we are using on SocialFish, which is port 5000, using the following command:
Code:
ngrok http 5000You can share the link generated by ngrok with the victim. When he/she clicks on the link, he/she will be directed to the login page.
Once the victim enters the email address and password to log in, they will be redirected to the link we provided earlier.
The victim's account data arrived to our admin panel and we can use it for our own purposes.