
Installation
Here we will look at three installation options. From Linux, macOS and Windows. But first of all, you need to have a flash drive of at least 8GB, go to the site https://tails.boum.org and download the current version

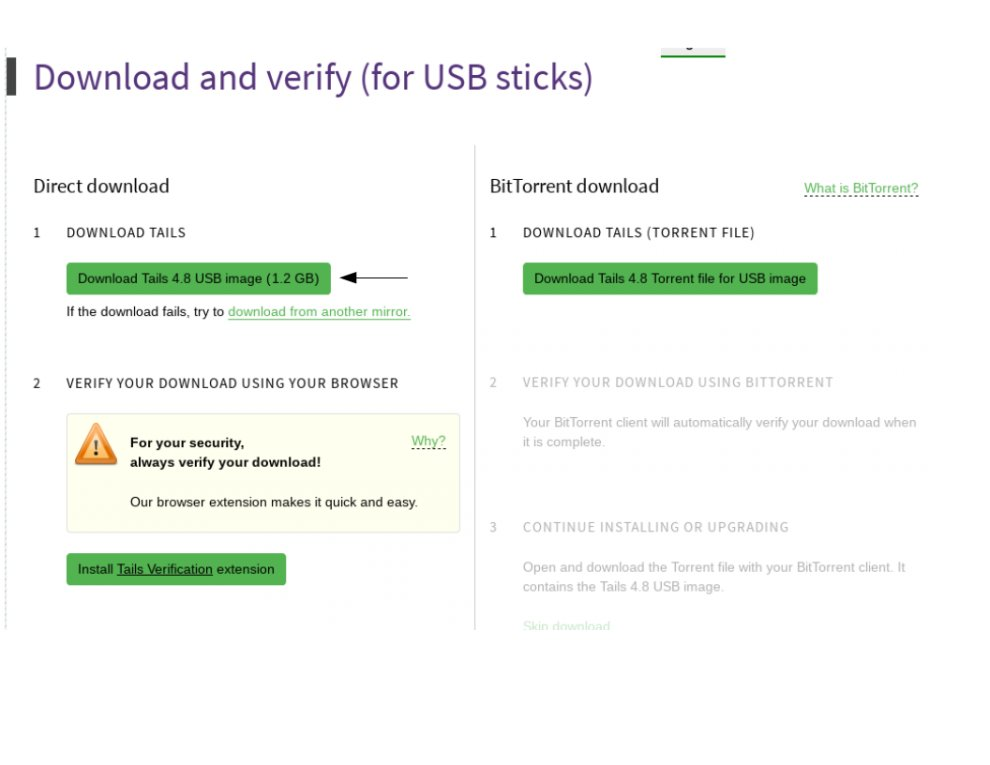
IMPORTANT! After you download the image, do not forget to check it for integrity using the utility from the developers.

Now you can proceed to the installation.
Windows
To install TAILS from under Windows, we will be helped by a fairly easy-to-use utility - Rufus. You can download it from here https://rufus.ie/
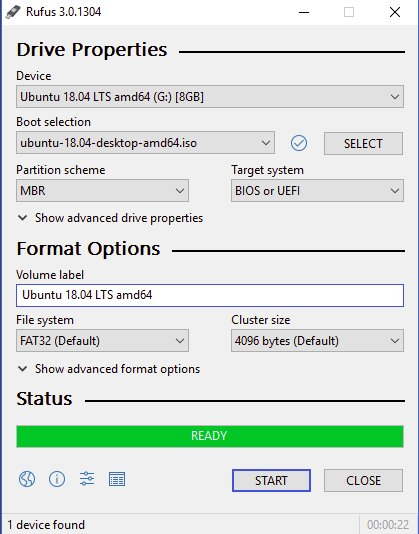
All you need is to connect the flash drive to the device, select it in the Device field. Next, select the downloaded image. We leave the MBR markup and the FAT32 file system type by default. We press Start and wait for the installation to finish. Done.
macOS
Here you can use the help of a utility such as Etcher. You can download it here https://www.balena.io/etcher/
Installation takes place in 3 easy steps.
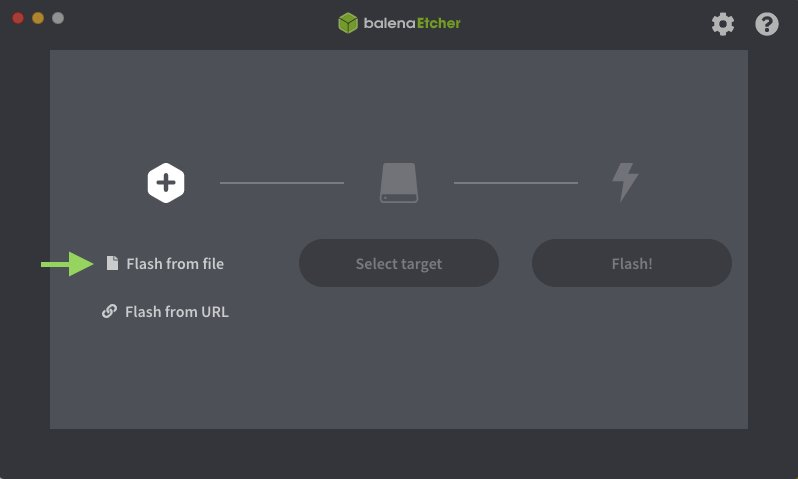
Choose an image. Choose a flash drive on which you will write the image. Start recording. That's all.
Linux.
If you are using Ubuntu or Debian you can use such handy utility as Disks or Disks. If you have not yet installed it, then open a terminal and run the command:
Code:
sudo apt install gnome-disk-utilityLet's move on to the installation. Connect a blank flash drive and run the utility.

Click on the button above. A context menu will appear. Choose Restore image or restore the image. Specify the path to the downloaded image. Start recording.
TAILS launch
Each time you start, you will see the following start screen.
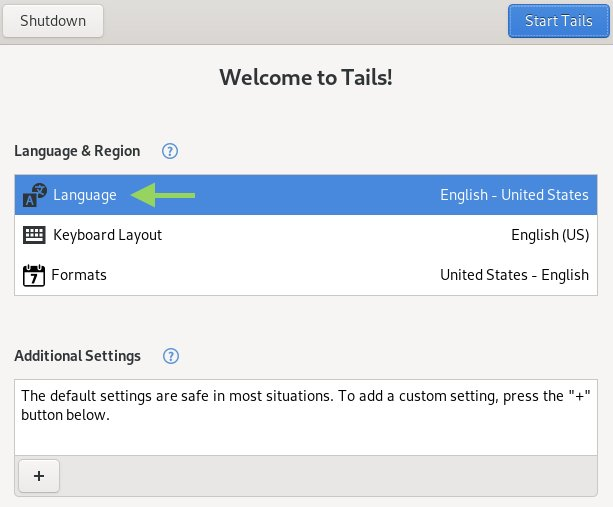
On it, you can immediately configure the system language, add a Russian keyboard layout. Also click on the + icon

The following window will appear.
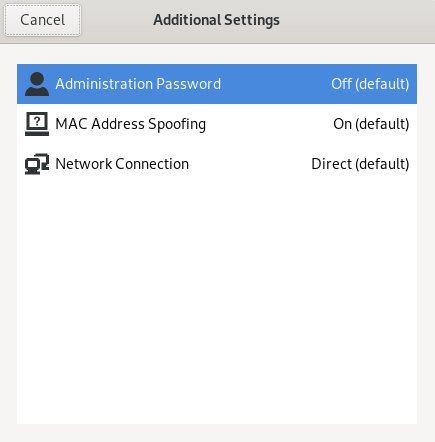
Briefly about each option. Administration Password - administrator password. I recommend that you set it every time you start. Devices. MAC Address Spoofing - hiding the real MAC address of the device. Keep it in the On position. Network connection - connection to the network. There are a couple of points worth disclosing here.

By going to the Network Connections tab. You will see three options to connect to Tor directly, use bridges to connect, or completely deny network connections. If you need to go online, the third option is immediately swept aside. If you want to hide your Tor usage from your ISP, use the 2nd option.
After setting all the necessary parameters, press the Start Tails button. The desktop will appear.
Network connection.
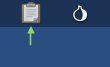
In order to connect to the network, click in the upper right corner.

A context window will pop up, select an available connection.
If you selected the second type of connection on the start screen, through bridges, you will see the following window.
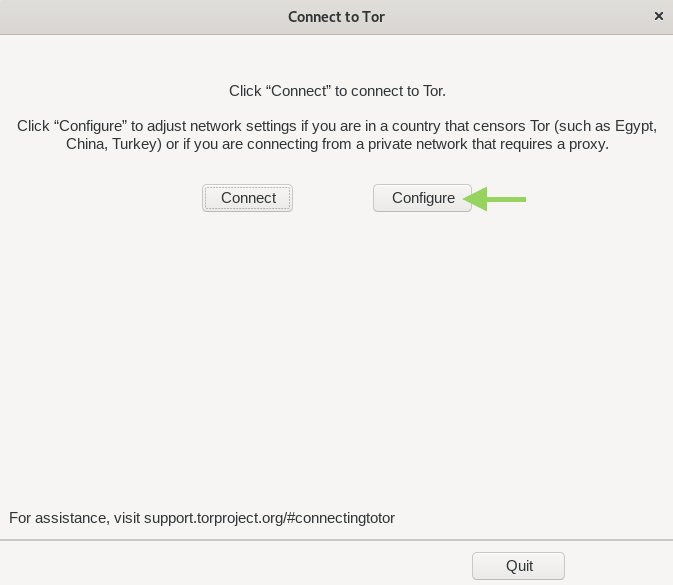
Click the Configure button.

We insert bridges into the white window. You can get them here https://bridges.torproject.org We press the Connect button and wait for the connection.
The bulb on the top panel should change its status to this:

Configuring PGP
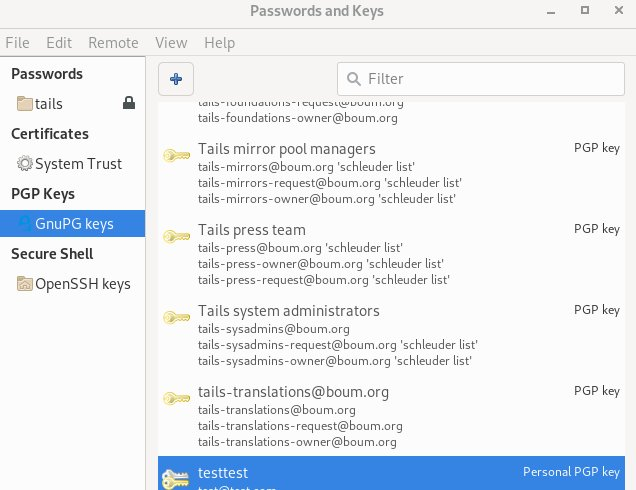
Adding a PGP key is easy enough. Click on the panel
The following context window will appear
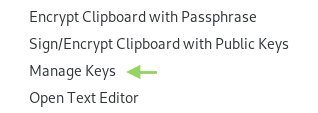
Go to Manage Keys
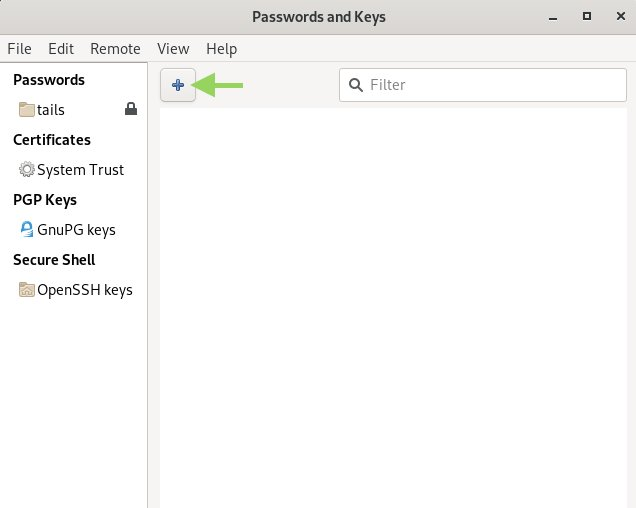
Click +, you will see the following window.
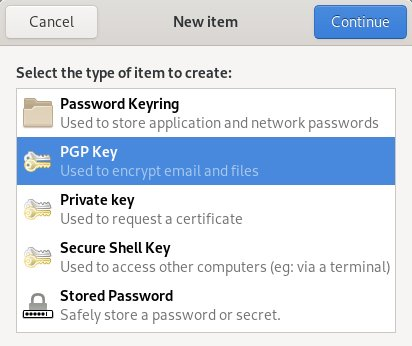
Choose PGP Key.

We configure the key at our discretion.
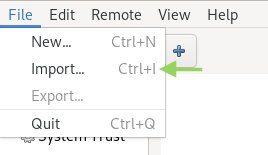
If you already have a pair of keys, you can import them.
In order to get a public key, click on the created pair and press Ctrl + C.

In order to decrypt the message. Copy the ciphertext to the clipboard. Click again on the socket

In the context window, select Decrypt, enter the password. Done.
In order to encrypt the message, you must also copy it to the clipboard, click everything there and press Encrypt and enter the password from the key. After that, click go to the test or any other dialog box where you need to send this message and press Ctrl + V.
To add someone else's public key, just copy it, go to the window with the keys and just press Ctrl + V
Connecting a permanent store or Persitent.
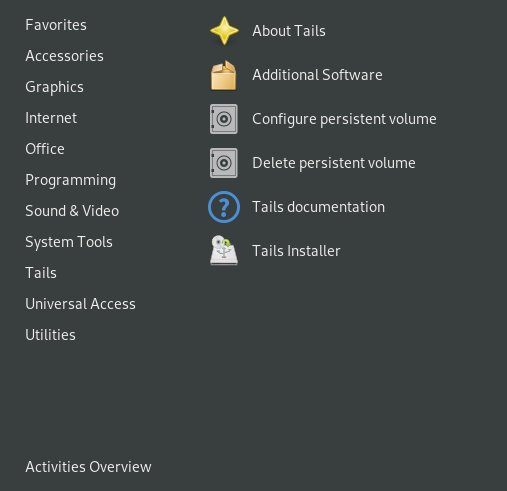
Despite the fact that TAILS is tailored to remove any traces from the device, the developers took care of creating an encrypted storage to save especially important information. Such PGP keys, Electrum wallets, etc. Setting up a persistent partition is straightforward. Click in the upper left corner

Tails tab -> Configure persistent volume The following window appears.

We set a password for the permanent partition. We are waiting for a while, the utility will create a partition on the flash drive. Next, you will be prompted to select the types of data that you want to store in this section.

Be sure to check the slider next to GnuPG if you don't want your keys to disappear after restarting Tails. Let's go over the other options. If you are going to use the built-in Bitcoin wallet Electrum Bitcoin Wallet (more on this later), then I recommend that you also enable this option. Network Connections, remembers network connections, if you enable this slider you will not have to drive in the password for the network every time. The Additional Software option allows you to save the utilities that you installed yourself (more on this a little further). Pidgin will save all the data about your jabber account, so that you do not have to drive them in again every time.
After you have chosen the desired parameters, click Save. The changes will take effect only after a reboot.
Also, you can back up your persistent storage. To do this, you will need another flash drive with at least 8 GB. This is done quite simply.
First of all, connect the flash drive to your computer. Click on the top left corner.

Tails Tab -> Tails Installer
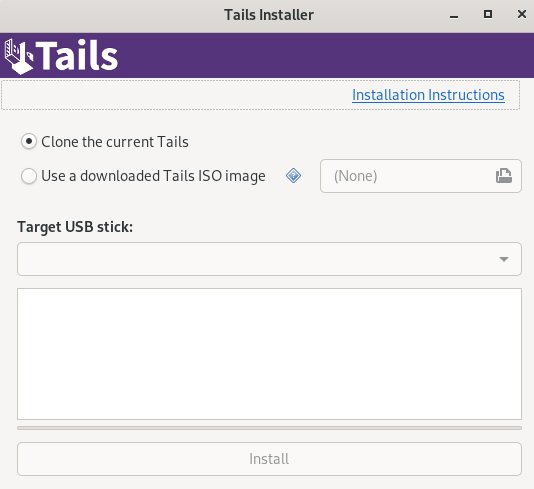
We clone the current system. In fact, we are making another backup flash drive with TAILS. After the process ends. You will need to run TAILS from a new backup stick. After starting, go there and create a permanent partition on it.
We select the same parameters that you chose when creating a partition on the main flash drive. After the process ends. We start again from the main flash drive. The backup flash drive is still connected to the computer. Click on the top left corner.
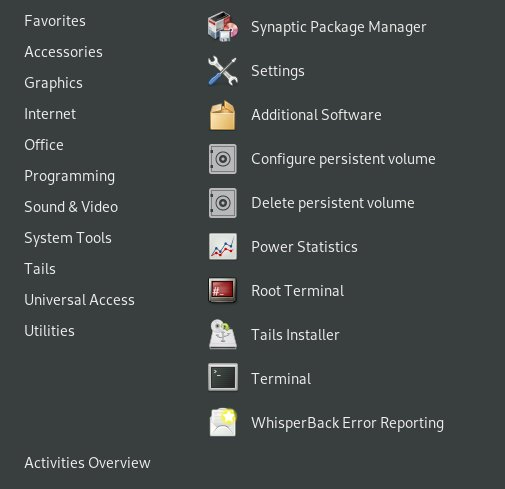
System Tools Tab -> Root Terminal
In the terminal, execute the following command:
Code:
rsync -PaSHAXv --del / live / persistence / TailsData_unlocked / / media / amnesia / TailsData /Done. Now you have a TAILS backup flash drive with a backup of your permanent storage.
A little about useful programs.
TAILS has a set of preinstalled programs, which should be sufficient for performing certain tasks.
In addition to the standard Tor Browser and Pidgin, I would like to draw your attention to the following programs.
Bitcoin Electrum Wallet is a fairly simple and easy-to-use bitcoin wallet. I recommend enabling Persistent to avoid having to re-configure it every time. It is set up quite simply.
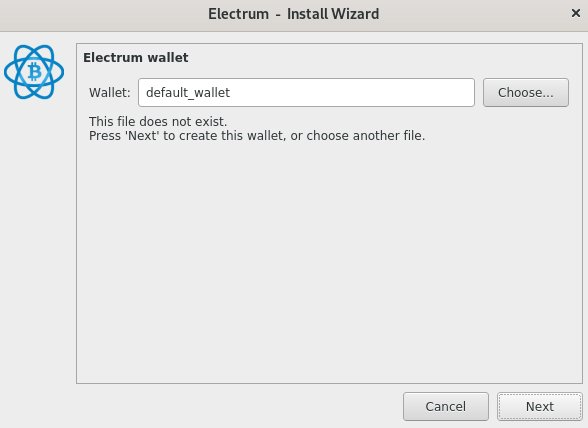
We set the name of the wallet.
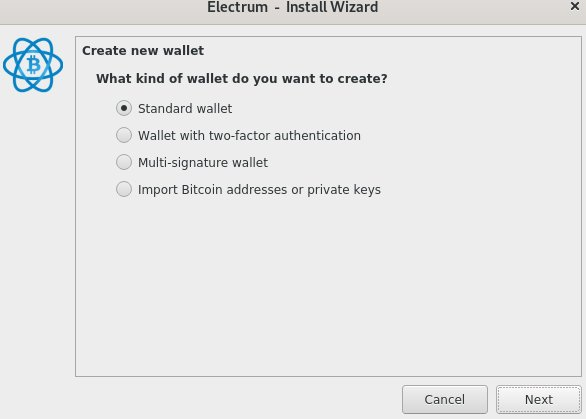
We select the type of wallet.

The wallet will offer you to create a new Seed phrase or use the existing one, if you had one.
IMPORTANT!!! Be sure to save the Seed phrase somewhere safe. In case you lose the flash drive and or you will not have access to the permanent section. You will be able to restore the wallet using this phrase!

Select the type of Seed phrase. Choose Legacy for now. After that you will be given a Seed phrase. SAVE IT ANYWHERE ELSE !!!

Re-enter the phrase. Done.
KeePassXC is a pretty handy password manager. In it you can store passwords for the sites that you will use. Easy to use.
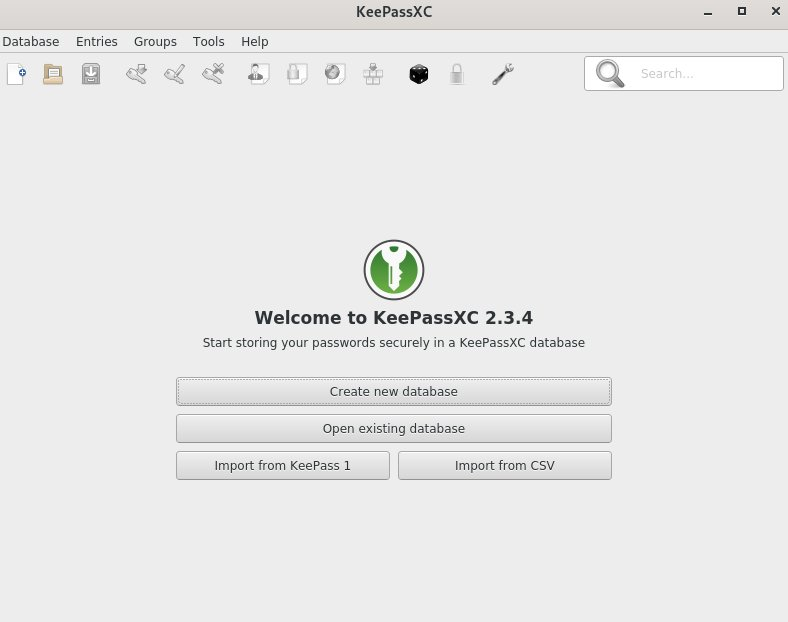
Click Create new database to create a new database.

We set the name.
IMPORTANT! If you do not want the database to disappear, save it.
In the Persistent section!

Set a password for the database, click OK. After that, click on the key icon with a green arrow. The following window will appear, there we perform the following actions: Click ok. Done.
I would also like to add a few words regarding the installation of additional software that was not included by the TAILS developers. Friends, do it at your own peril and risk. Those programs that are already in the system are sharpened for the correct operation of the system's firewall. By installing unauthorized programs, you run the risk of disrupting the work of the firewall and putting your devices at risk. Nevertheless, if you need to install additional utilities or packages, I recommend enabling the Additional Software slider when setting up a persistent storage, so that you do not have to install everything over again every time.
That's all for me. Thank you all for your attention!