Carding
Professional
- Messages
- 2,871
- Reaction score
- 2,397
- Points
- 113
Draw a photo of the front of a credit card.

I will not write about any supernatural rules or about the "10 steps" of drawing a credit card (CC). I'll just write how to do it.
I think it will be useful for those who at least slightly know how to use FS - Photoshop (I'm not talking about those who start FS to remove the red-eye effect ...).
And so first, I'll tell you how to take a photo of the front of the CC.
We need a camera and actually any credit card. If you don't have a credit card, then any card of a similar size will do, but a credit card is better, it will be more realistic. We photograph it, preferably from above directly (NOT at an angle, because then it will be more convenient for us to draw the embossing)
We get something like this:

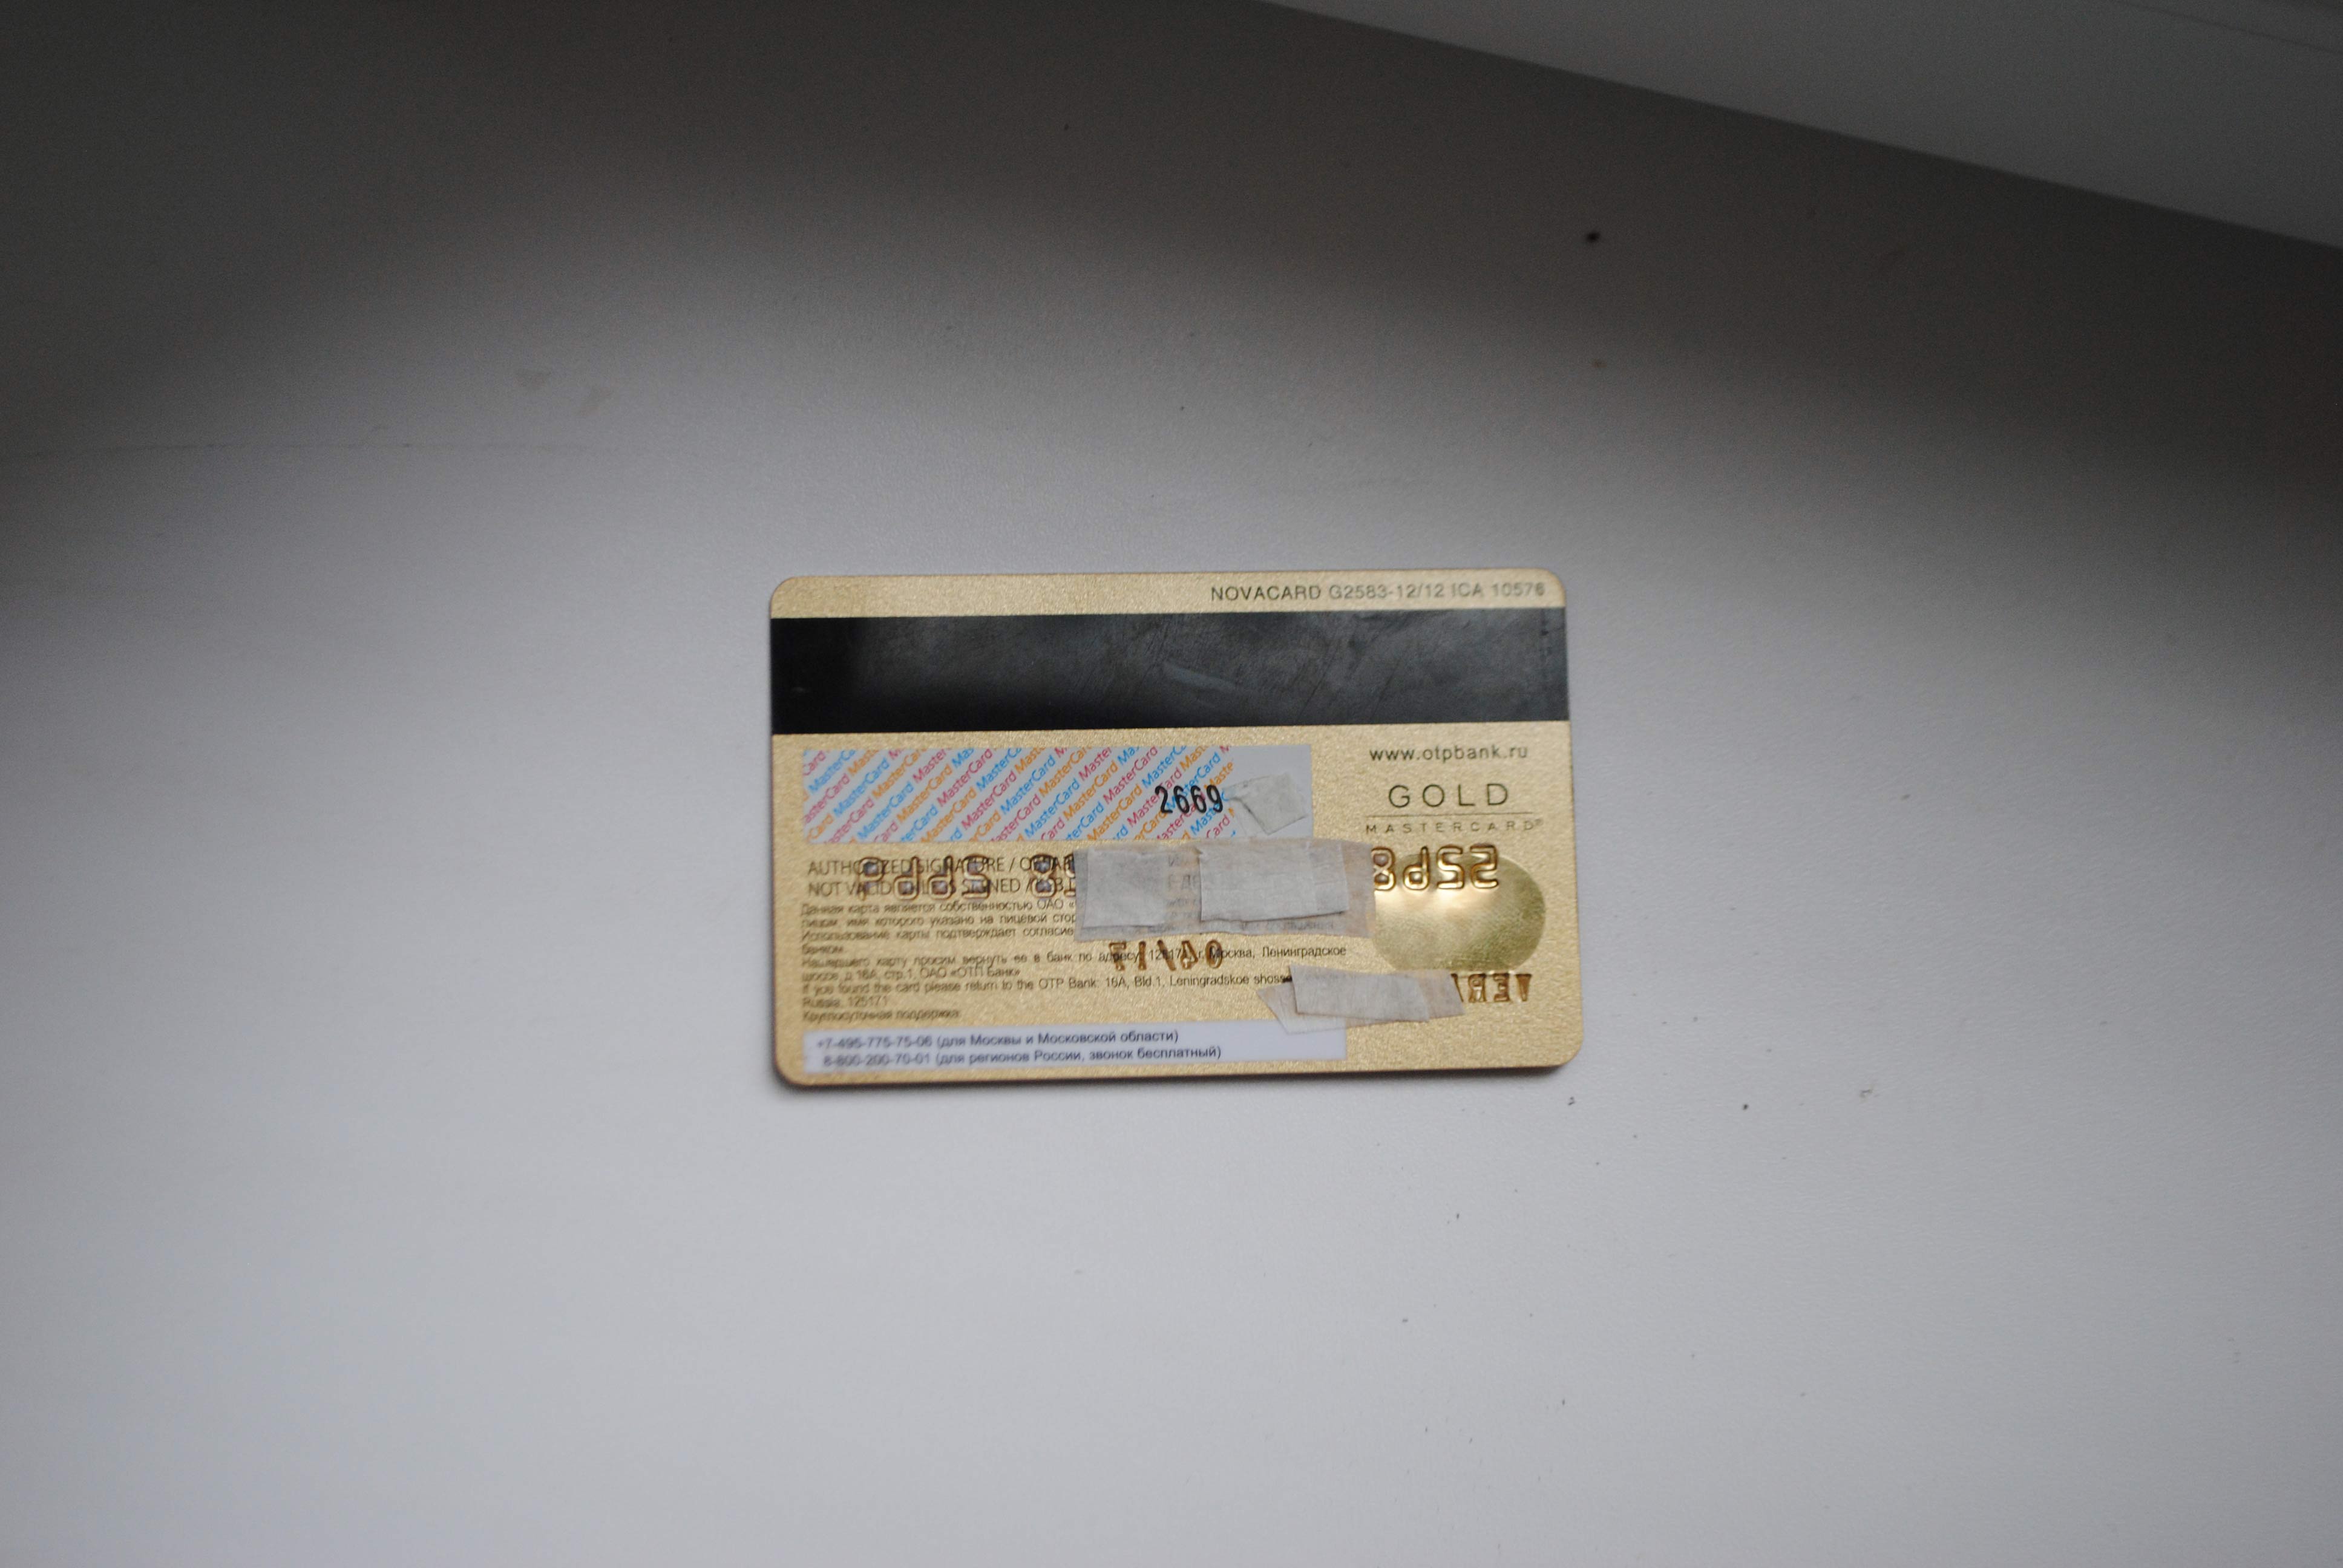
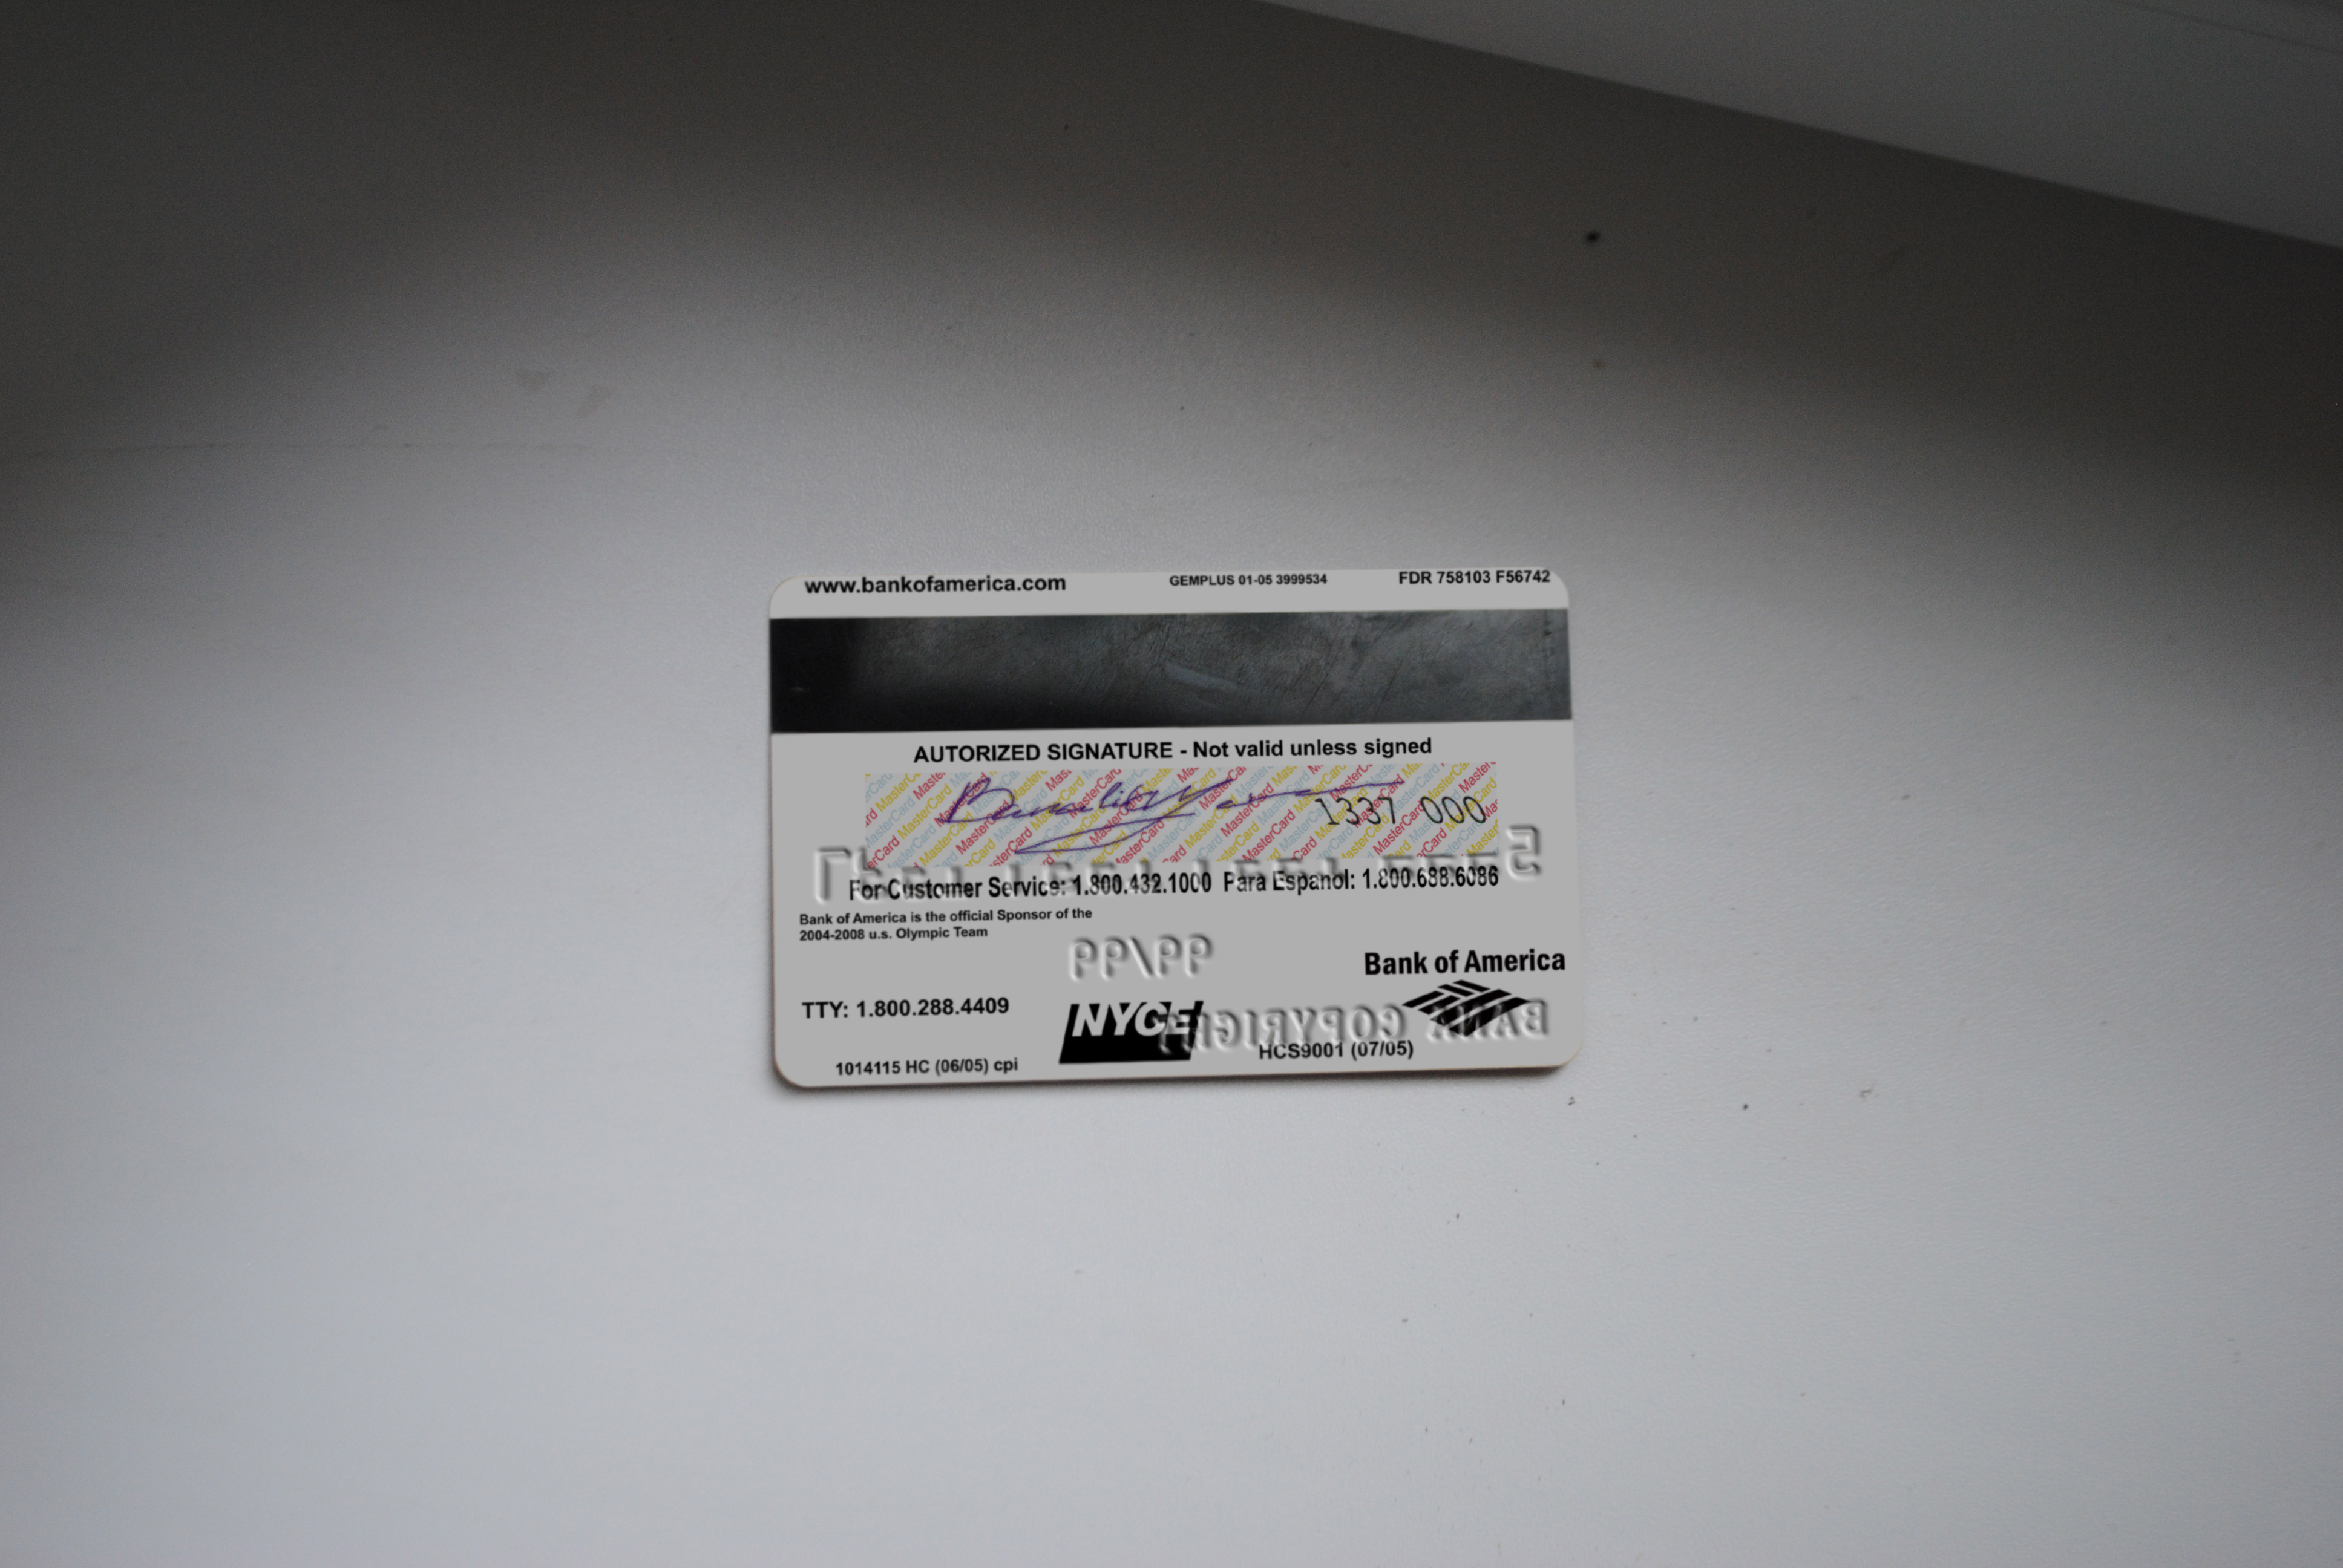
and the back:

Fine. Next, let's say we need to draw a BOA map with the following information:
- number 5555 1337 1337 1337
- expire date 99/99
- with the name of the holder BANA COPYRIGHT
So. We go to Google looking for a BOA map, it is better to have something simpler in design, so that it would be easier to remove all unnecessary text from it, or often already cleared maps are found in Google. I found this one:

Open this picture in FS and start deleting the card number, etc., using the Stamp tool. It looks like this on the toolbar:

We chose it, put it in place near the text to copy the blank background, hold down ALT and click once. Thus, that area is copied to the buffer, and the next time it is clicked (to another place), it will be inserted. You can hold down the mouse button and move it, then everything will be copied from the area from which you specified Alt. (You can read more about the stamp in Google, generally poke it and figure out how it works)
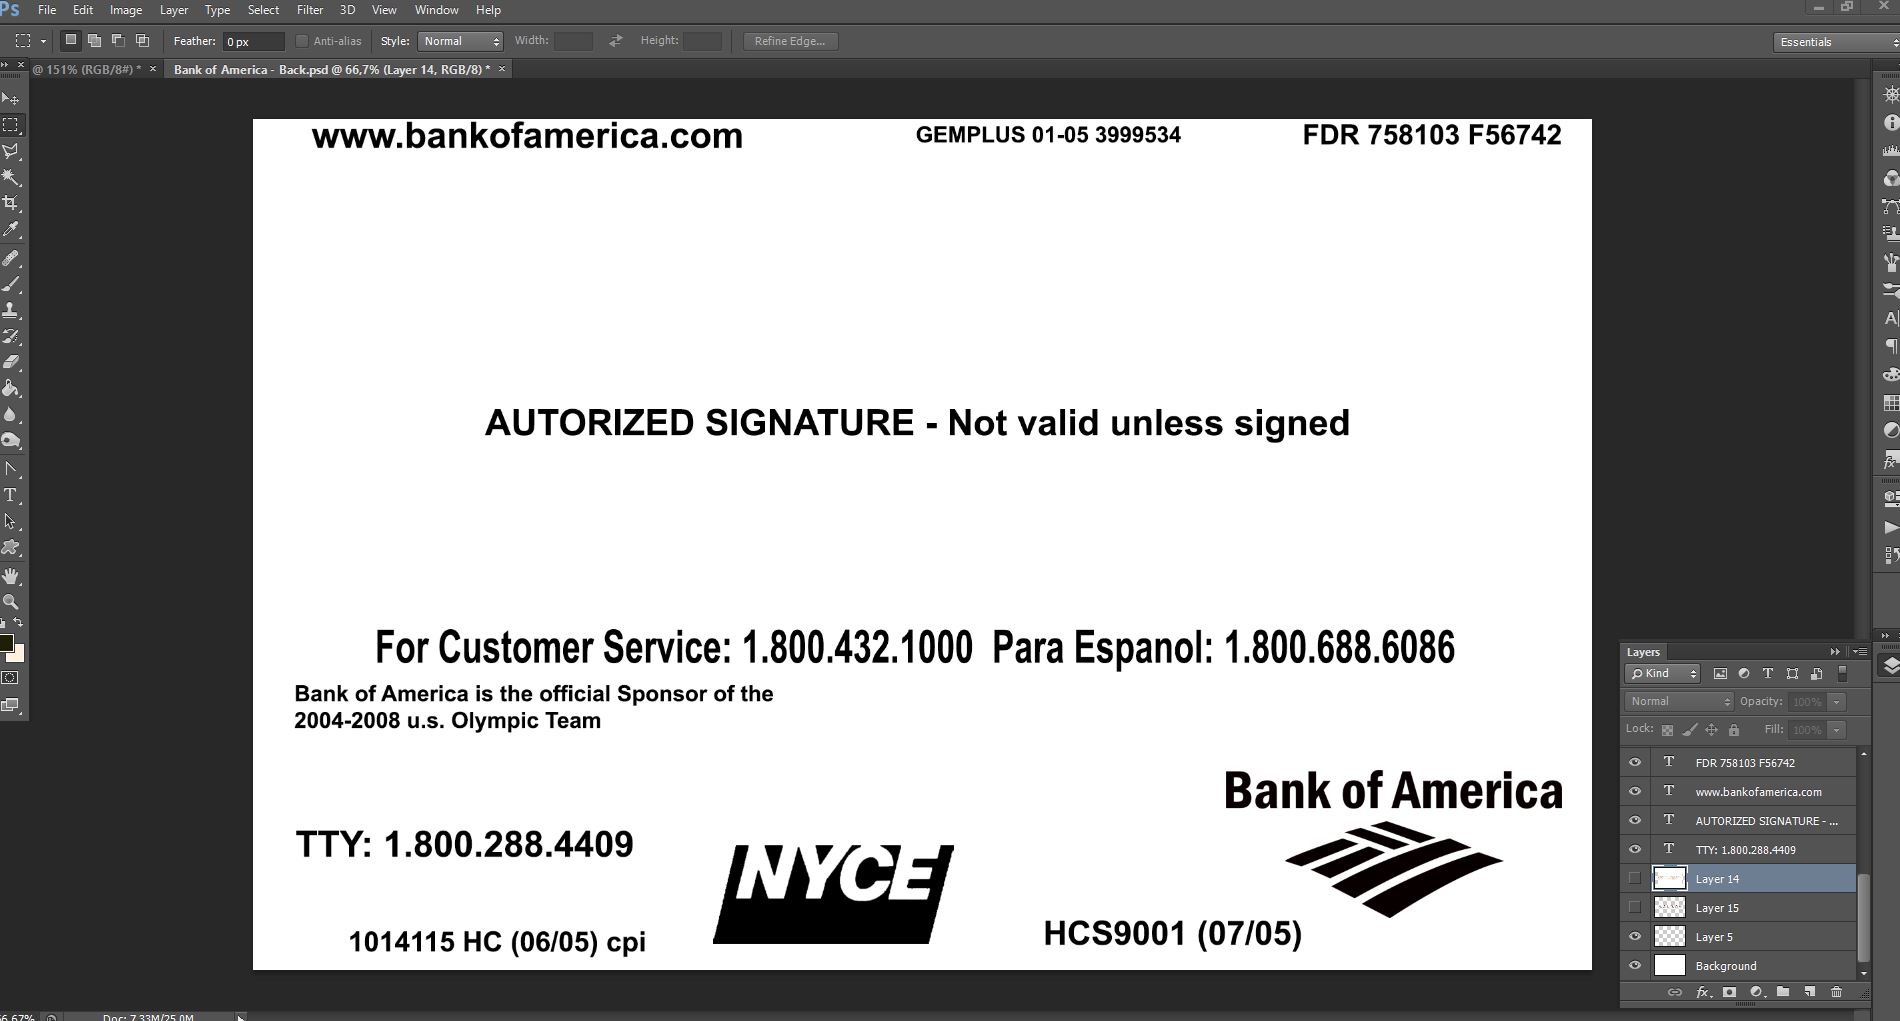
After removing the text with the Clone Stamp tool, I got this picture:

Further, you can either immediately insert the logos of the payment system (visa / mc, we know, yes? That the number starts with 4 or 5, respectively ...) or then do it right on the photo.
Because we need to draw a card of the MC, and in the photo, just the same CC MC. We'll do it later.
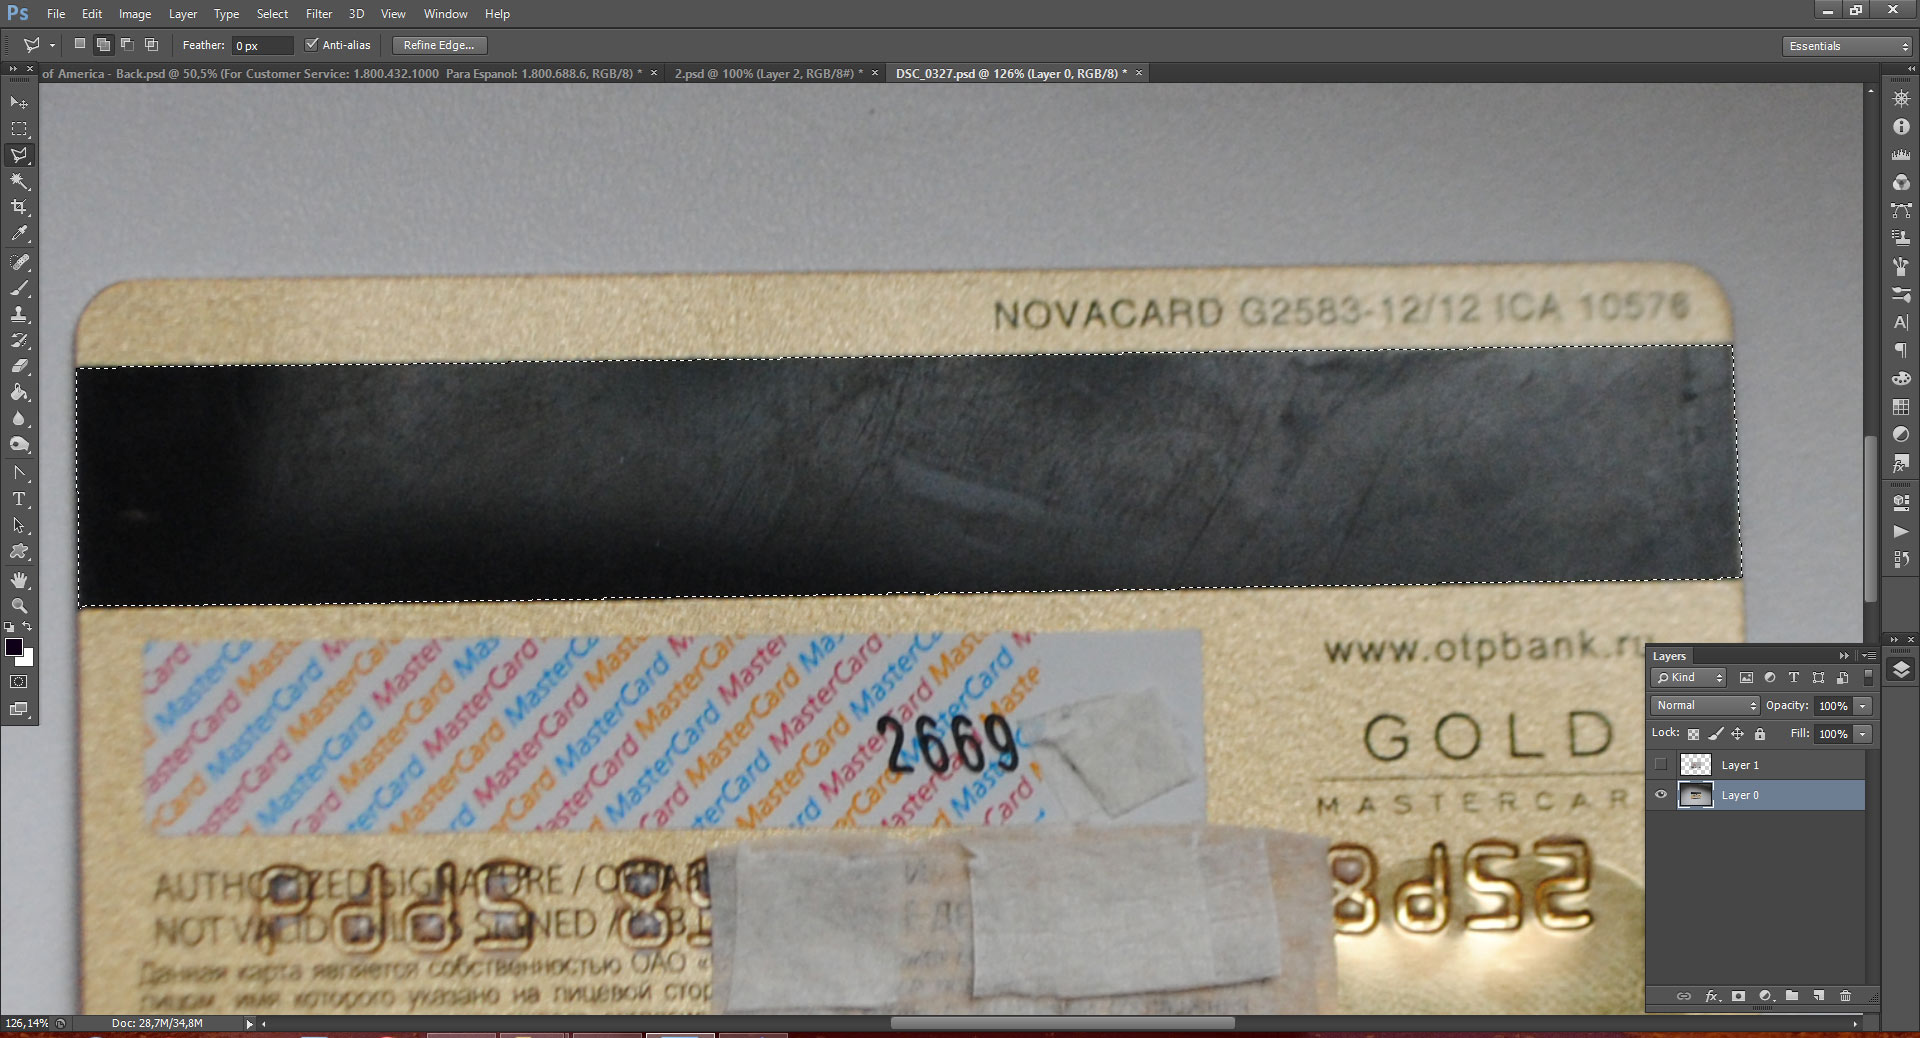
And now select the Selection / Rectangular Marquee tool or in English. The rectangular marquee tool looks like a dotted rectangle. Select our cleaned BOA map (make the selection a little smaller).
After selecting from above, select
Selection -> Modification -> Anti-aliasing or
Select -> Modify -> Smooth (depending on your language in FS)
and select the radius of the curvature of the ends of our selected rectangle.
It is selected by hand, by trial. We wrote a radius of 34, if the ends are too strong or too small, then press CTRL+Z and try again.
As you have found the best option, select the Move tool. Just press on the selected area and transfer it to the previously opened photo CC in the next tab.

Next verify that the selected layer with map RAB, press CTRL+T. Stretch and rotate the map to the size of the one in the photo.
It may not turn out too perfect in the plane, so while adjusting the size, you can right-click on the map and select the Distort mode and drag the corners


Decrease the gamma / brightness or increase it, looking at the general lighting of the photo.

You can blur the outline / edges of the card a little (the drop tool in the panel).
Now let's add the payment system logo to the card. Let's take it from the card on the photo.
In the list of layers, click on the eye opposite our BOA map (thus, our CC will disappear from the screen). Click once on the photo layer. Select the Lasso tool (right-click if you click, there are different modes, I select the broken Lasso).
Now it will highlight the MasterCard logo.

As you have selected, we simply copy-paste (as with text) - CTRL+C and CTRL+V, after that another one with our logo appears in the list of layers, we place it on top of all layers, and then with the Move tool / Move to the desired place on our map.
You can also blur the edges of the logo a little. to feel like it was cut / pasted.
Well, the main thing is done, now the text.
We need the AmexCardEmbossinBC font (everyone knows how to use Google?). Download and install.
Done. Go back to FS, select the Text tool (the letter T on the panel). We select an approximate area for them, place the text and change the font from the top left to AmexCardEmbossinBC. We write the card number. Also on CTRL + T you can rotate / stretch and so on.
Next, we will apply the embossing effects. In the list of layers, right-click on our blending options text. Basically, you need to add volume and shadow, there are no specific sets of options. So how do you add salt to the soup? A lot depends on what.
Well, I'll tell you the basic principles.
Add a three-dimensional effect, outline and texture as desired, and also add a shadow. I don't want to write the exact percentages of their values, it's like adding salt. Try it. See screenshots:


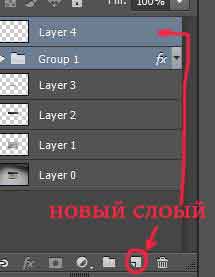
Select the text layer and make a duplicate of this layer, for this press CTRL + J in order to move and write the expiry date.
Let's make another duplicate for the holder's name.
After everything is done, click on the top / bottom layer with the text, hold down the Shift and click on the top one (those who do not know how to use the standard keyboard options on a computer). We have selected our 3 layers with text.
Press CTRL + G and a folder appears with all these layers.
On this folder, we also right-click to apply the blending options / blending options.
And we do the same as we did with the text, only we change the option to emboss in the 1st effect. See screenshot.

Well, in principle, they took a photo of the front of the CC.

Of course, the guys who are more freaked out in Photoshop can add highlights, shadows, apply photo filters for greater realism, etc. But to describe this in an article, no buzz ... because. comes from experience.
But there is one "BUT", if you go to the Holy Island about photography, then you can read there that the file was edited in FSH.
In order to get rid of this palette, download ExifPilot.
We launch it, looking for our photo. At the top, select edit Exif -> Add new tags -> look for Software in the list and remove Photoshop, click OK.
You can still read more about ExifPilot in Google.
For special paranoids, download the Restaurateur and edit the hex file (hex file code), look for everything about the FS and set zero bytes, etc. Read how to do this in Google. Personally, I do not think that some office in the world (this hex) picks and fills.
I will not write about any supernatural rules or about the "10 steps" of drawing a credit card (CC). I'll just write how to do it.
I think it will be useful for those who at least slightly know how to use FS - Photoshop (I'm not talking about those who start FS to remove the red-eye effect ...).
And so first, I'll tell you how to take a photo of the front of the CC.
We need a camera and actually any credit card. If you don't have a credit card, then any card of a similar size will do, but a credit card is better, it will be more realistic. We photograph it, preferably from above directly (NOT at an angle, because then it will be more convenient for us to draw the embossing)
We get something like this:
and the back:
Fine. Next, let's say we need to draw a BOA map with the following information:
- number 5555 1337 1337 1337
- expire date 99/99
- with the name of the holder BANA COPYRIGHT
So. We go to Google looking for a BOA map, it is better to have something simpler in design, so that it would be easier to remove all unnecessary text from it, or often already cleared maps are found in Google. I found this one:
Open this picture in FS and start deleting the card number, etc., using the Stamp tool. It looks like this on the toolbar:
We chose it, put it in place near the text to copy the blank background, hold down ALT and click once. Thus, that area is copied to the buffer, and the next time it is clicked (to another place), it will be inserted. You can hold down the mouse button and move it, then everything will be copied from the area from which you specified Alt. (You can read more about the stamp in Google, generally poke it and figure out how it works)
After removing the text with the Clone Stamp tool, I got this picture:
Further, you can either immediately insert the logos of the payment system (visa / mc, we know, yes? That the number starts with 4 or 5, respectively ...) or then do it right on the photo.
Because we need to draw a card of the MC, and in the photo, just the same CC MC. We'll do it later.
And now select the Selection / Rectangular Marquee tool or in English. The rectangular marquee tool looks like a dotted rectangle. Select our cleaned BOA map (make the selection a little smaller).
After selecting from above, select
Selection -> Modification -> Anti-aliasing or
Select -> Modify -> Smooth (depending on your language in FS)
and select the radius of the curvature of the ends of our selected rectangle.
It is selected by hand, by trial. We wrote a radius of 34, if the ends are too strong or too small, then press CTRL+Z and try again.
As you have found the best option, select the Move tool. Just press on the selected area and transfer it to the previously opened photo CC in the next tab.
Next verify that the selected layer with map RAB, press CTRL+T. Stretch and rotate the map to the size of the one in the photo.
It may not turn out too perfect in the plane, so while adjusting the size, you can right-click on the map and select the Distort mode and drag the corners
Decrease the gamma / brightness or increase it, looking at the general lighting of the photo.
You can blur the outline / edges of the card a little (the drop tool in the panel).
Now let's add the payment system logo to the card. Let's take it from the card on the photo.
In the list of layers, click on the eye opposite our BOA map (thus, our CC will disappear from the screen). Click once on the photo layer. Select the Lasso tool (right-click if you click, there are different modes, I select the broken Lasso).
Now it will highlight the MasterCard logo.
As you have selected, we simply copy-paste (as with text) - CTRL+C and CTRL+V, after that another one with our logo appears in the list of layers, we place it on top of all layers, and then with the Move tool / Move to the desired place on our map.
You can also blur the edges of the logo a little. to feel like it was cut / pasted.
Well, the main thing is done, now the text.
We need the AmexCardEmbossinBC font (everyone knows how to use Google?). Download and install.
Done. Go back to FS, select the Text tool (the letter T on the panel). We select an approximate area for them, place the text and change the font from the top left to AmexCardEmbossinBC. We write the card number. Also on CTRL + T you can rotate / stretch and so on.
Next, we will apply the embossing effects. In the list of layers, right-click on our blending options text. Basically, you need to add volume and shadow, there are no specific sets of options. So how do you add salt to the soup? A lot depends on what.
Well, I'll tell you the basic principles.
Add a three-dimensional effect, outline and texture as desired, and also add a shadow. I don't want to write the exact percentages of their values, it's like adding salt. Try it. See screenshots:
Select the text layer and make a duplicate of this layer, for this press CTRL + J in order to move and write the expiry date.
Let's make another duplicate for the holder's name.
After everything is done, click on the top / bottom layer with the text, hold down the Shift and click on the top one (those who do not know how to use the standard keyboard options on a computer). We have selected our 3 layers with text.
Press CTRL + G and a folder appears with all these layers.
On this folder, we also right-click to apply the blending options / blending options.
And we do the same as we did with the text, only we change the option to emboss in the 1st effect. See screenshot.
Well, in principle, they took a photo of the front of the CC.
Of course, the guys who are more freaked out in Photoshop can add highlights, shadows, apply photo filters for greater realism, etc. But to describe this in an article, no buzz ... because. comes from experience.
But there is one "BUT", if you go to the Holy Island about photography, then you can read there that the file was edited in FSH.
In order to get rid of this palette, download ExifPilot.
We launch it, looking for our photo. At the top, select edit Exif -> Add new tags -> look for Software in the list and remove Photoshop, click OK.
You can still read more about ExifPilot in Google.
For special paranoids, download the Restaurateur and edit the hex file (hex file code), look for everything about the FS and set zero bytes, etc. Read how to do this in Google. Personally, I do not think that some office in the world (this hex) picks and fills.
Last edited by a moderator: