![c8eac5f664b79db324a60.png c8eac5f664b79db324a60.png](https://telegra.ph/file/c8eac5f664b79db324a60.png)
Hey! In touch Brother, in this manual you will learn how to quickly and correctly create a bank to work with PUA and not only.
Okay, let's get started!
1. First of all, go to the website of our bank www.navyfederal.org and click on "Join now"
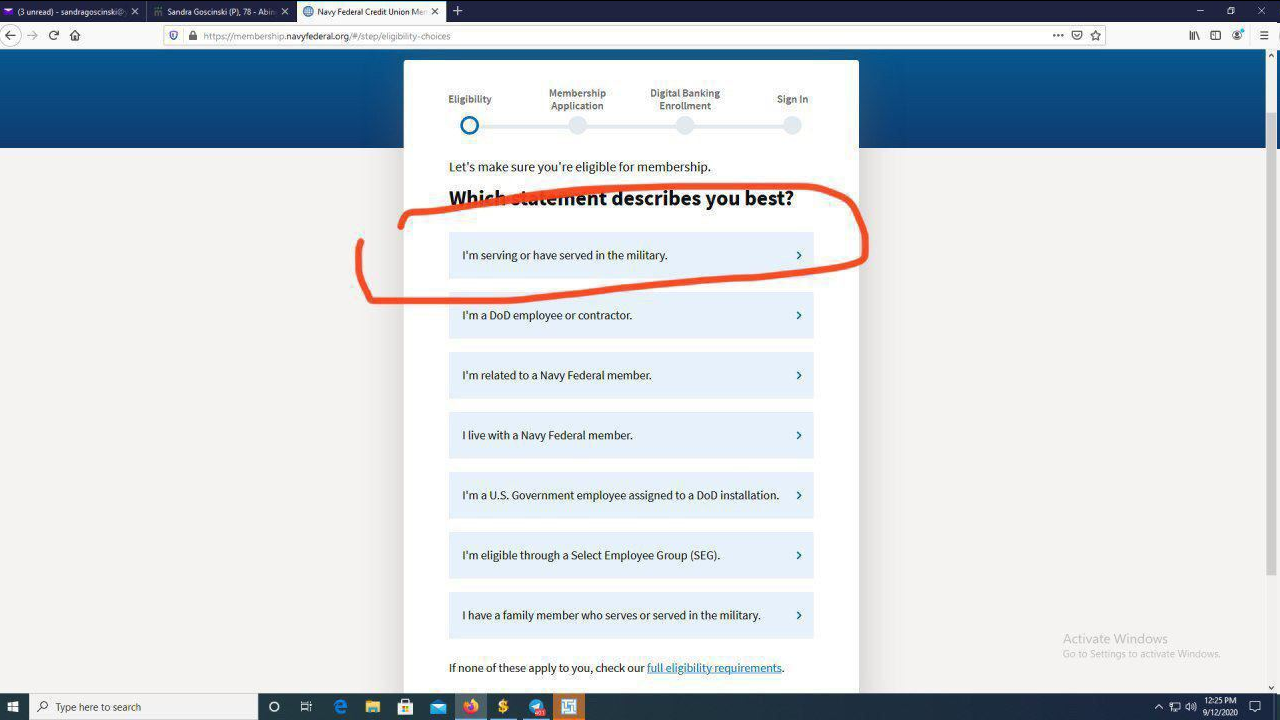
2. Select the item "I'm serving or I've served in the military"
![129a9aeeed6806c33f194.png](https://telegra.ph/file/129a9aeeed6806c33f194.png)
3. The item "I'm a veteran"
![5cc251d79c49a3a6247ef.png](https://telegra.ph/file/5cc251d79c49a3a6247ef.png)
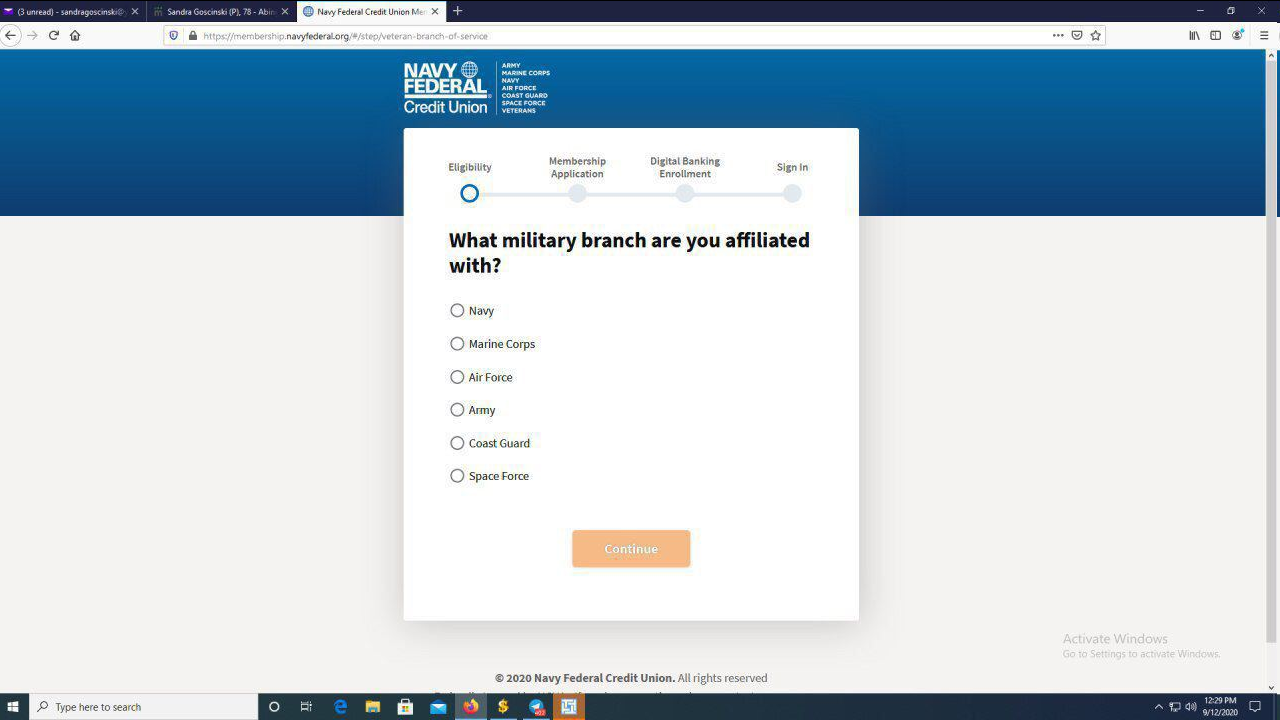
4. Choose "Navy" or "Army"
![78423585da787feaf0842.png](https://telegra.ph/file/78423585da787feaf0842.png)
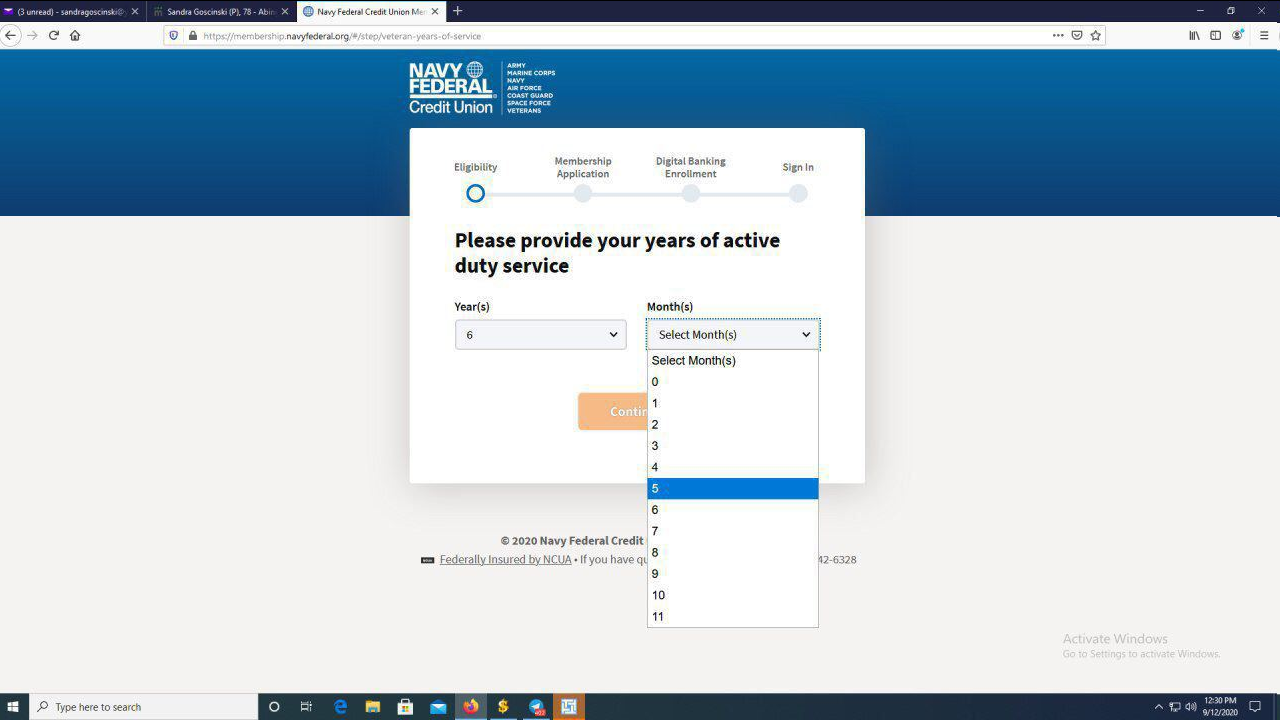
5. Choose 6 years 5 months
![a5a5d746c126146deedb2.png](https://telegra.ph/file/a5a5d746c126146deedb2.png)
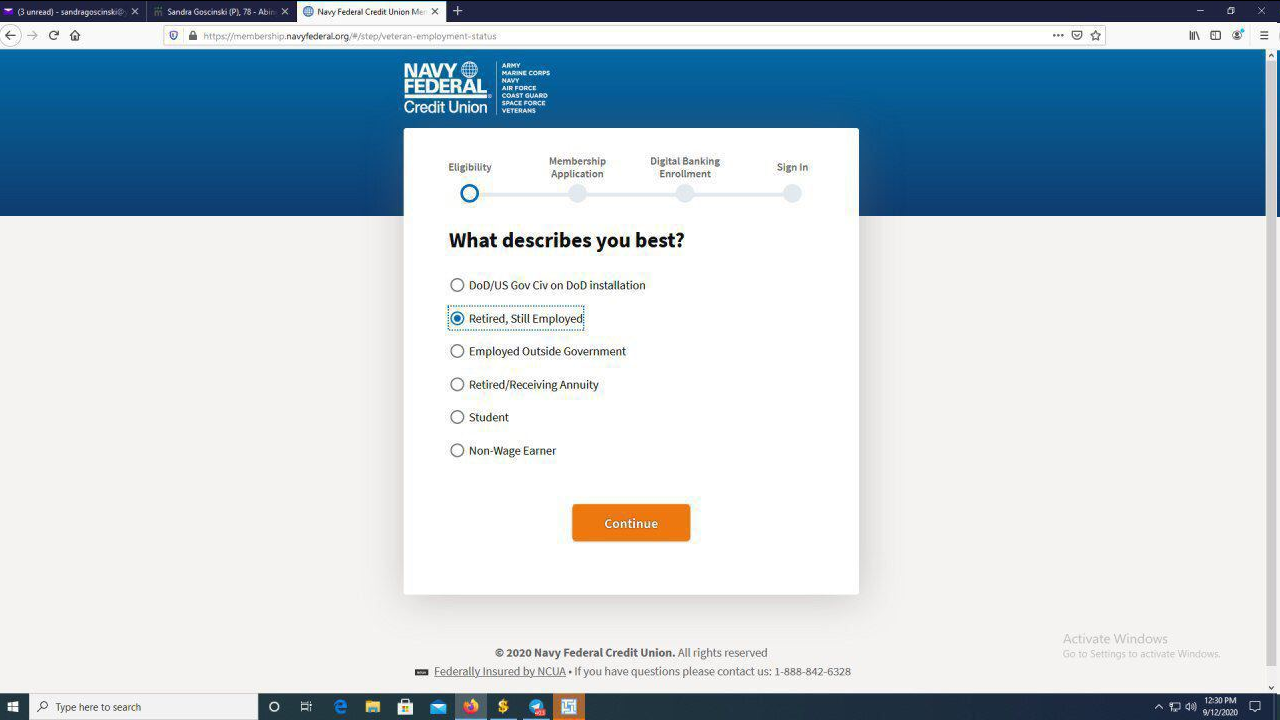
6. Choose "Retired / still employed" or DOD
![a52dfd2638cbfc12d8c42.png](https://telegra.ph/file/a52dfd2638cbfc12d8c42.png)
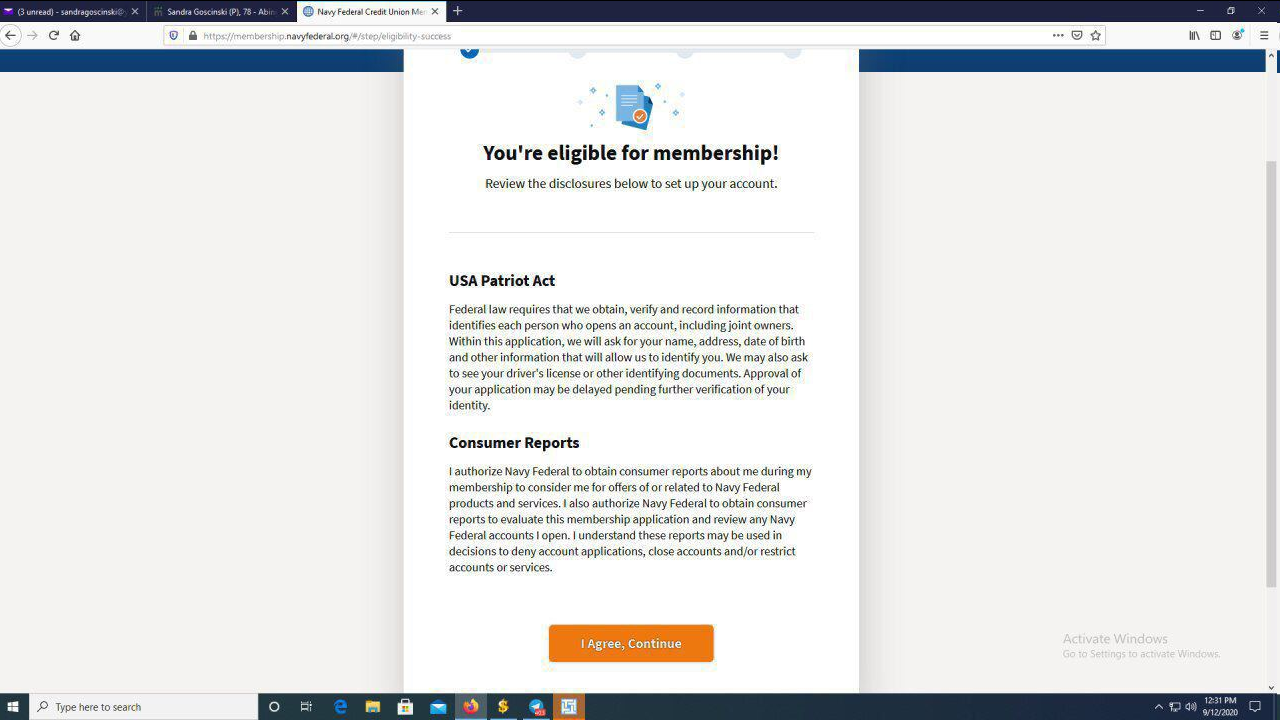
7. When we see this, click "I agree, Continue"
![40fa9f04644eb1bca389d.png](https://telegra.ph/file/40fa9f04644eb1bca389d.png)
8. We enter data from a fullz
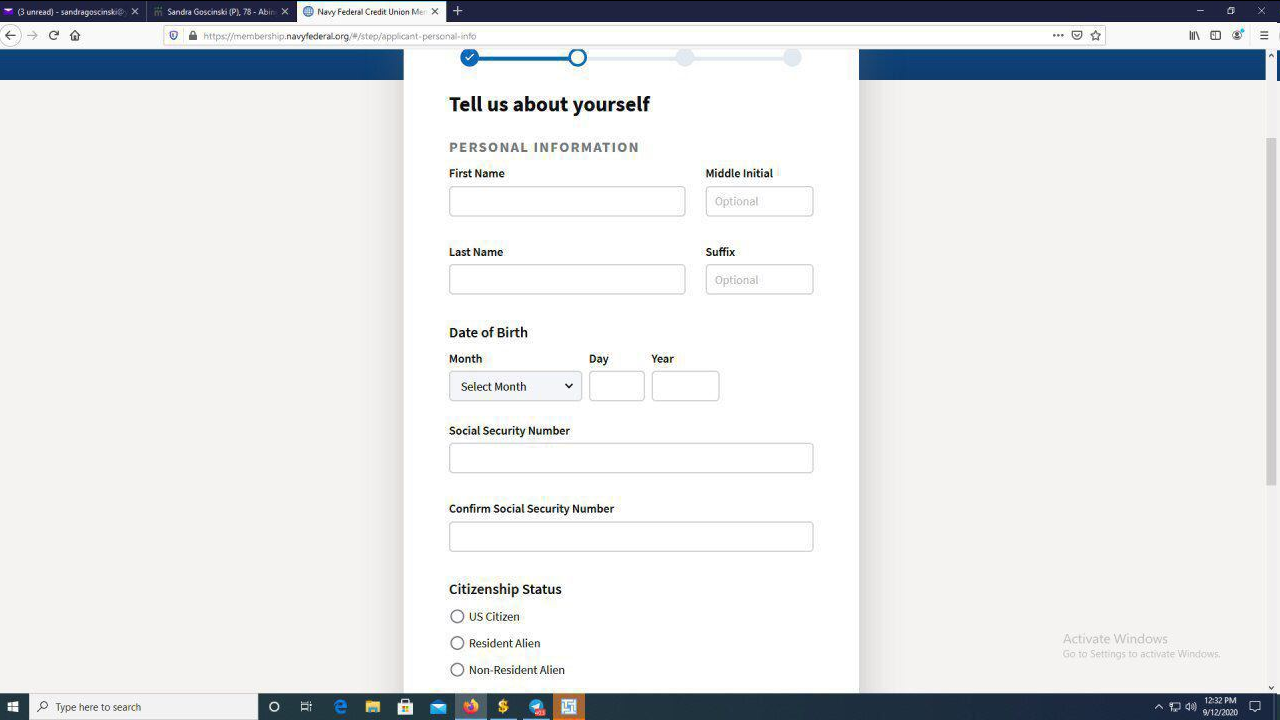
![7cd3712d6a112e43a9e3c.png](https://telegra.ph/file/7cd3712d6a112e43a9e3c.png)
9. Next page
Enter the number and email address you created and scroll down
![d5418355527d63ac6d24e.png](https://telegra.ph/file/d5418355527d63ac6d24e.png)
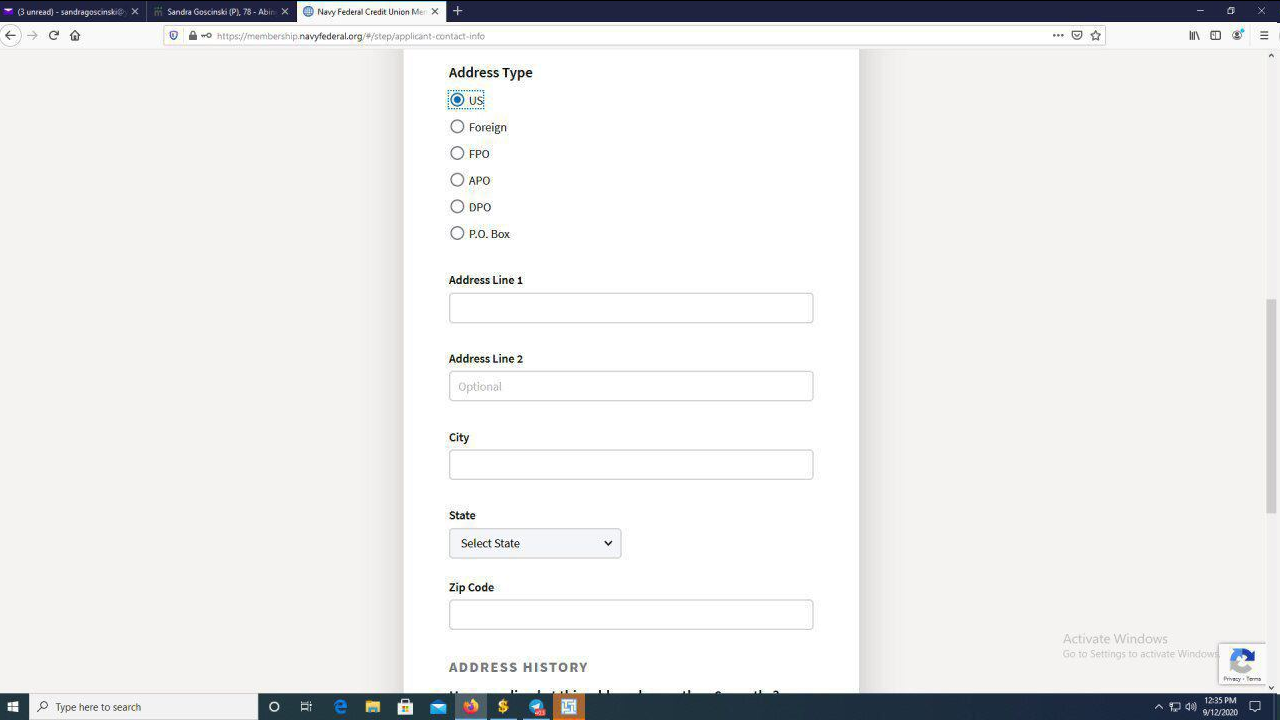
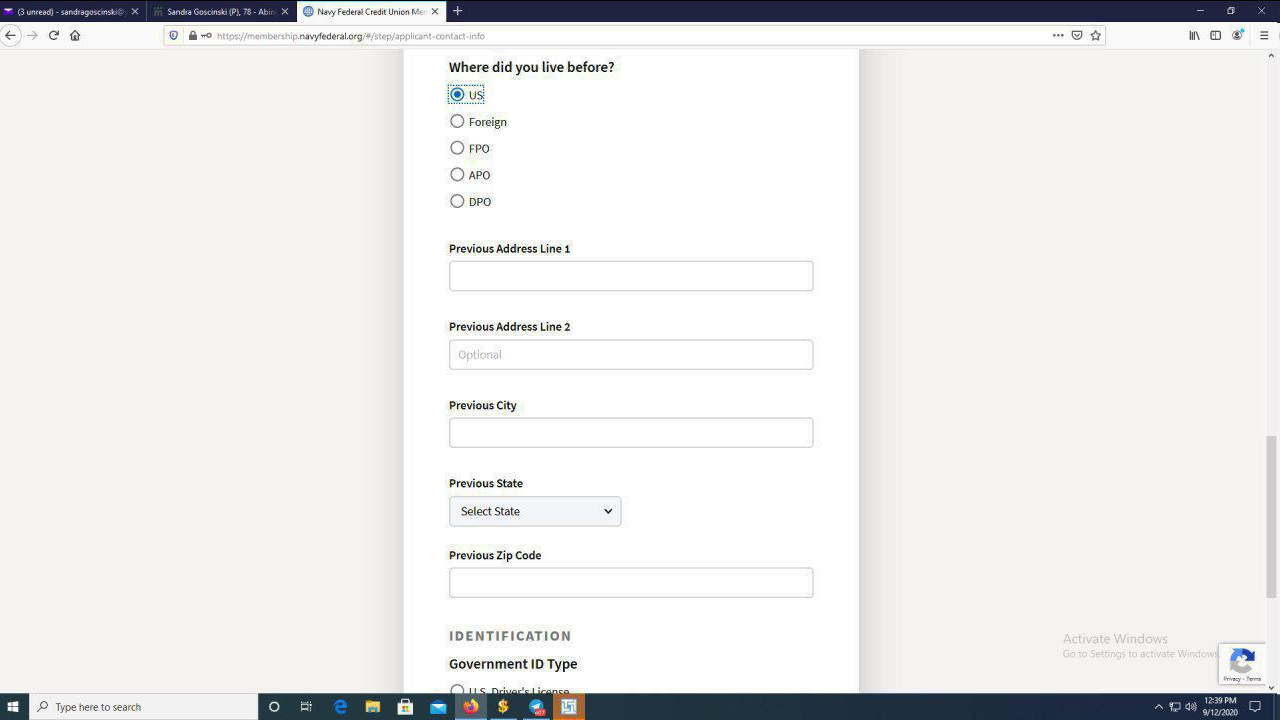
10. In the "Address type" section,
select US and fill in the address for the drop where the card or any other
![2f6a26f7c784f22e893f6.png](https://telegra.ph/file/2f6a26f7c784f22e893f6.png)
11. Next page
Now we enter the address from our full info (fullz)
![f92b2106bbcd91adcb79c.png](https://telegra.ph/file/f92b2106bbcd91adcb79c.png)
12. Enter ID
![bba9b84a0e6a1628302d4.png](https://telegra.ph/file/bba9b84a0e6a1628302d4.png)
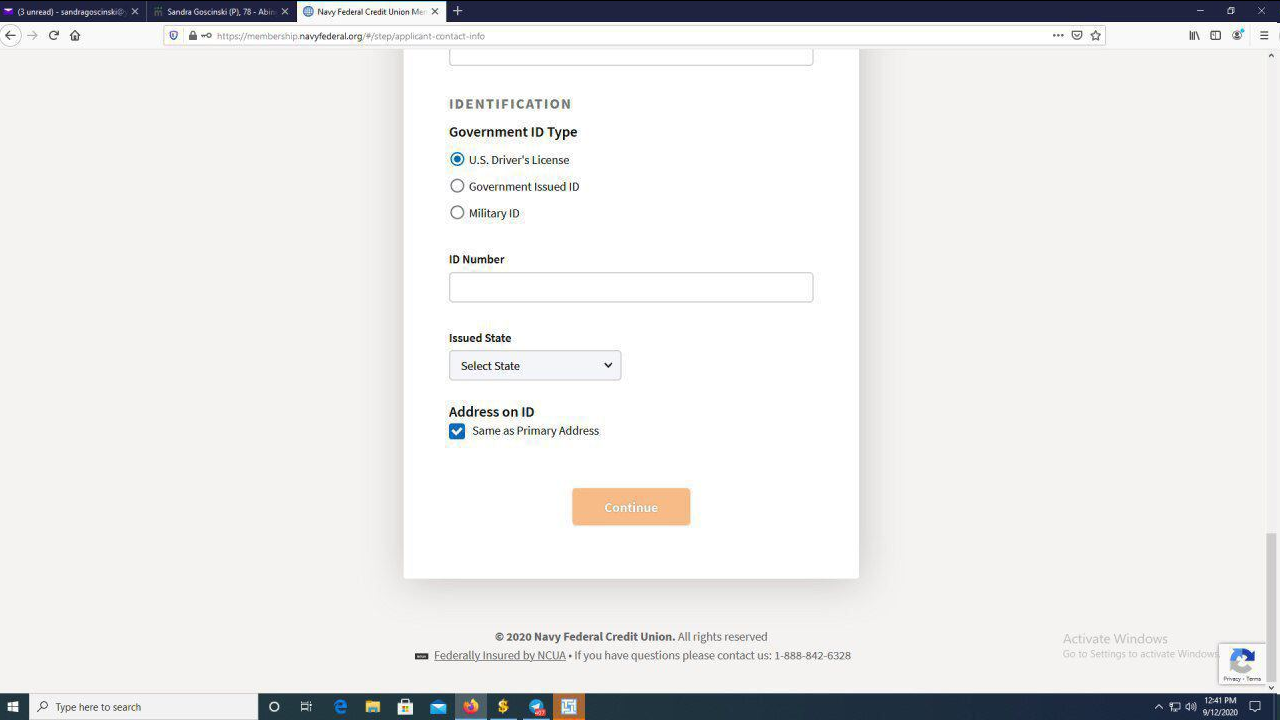
13. We fill in further
![59efc0c00d4d814405865.png](https://telegra.ph/file/59efc0c00d4d814405865.png)
14. Choose "NO"
![37a66c496415f9c11202a.png](https://telegra.ph/file/37a66c496415f9c11202a.png)
15. Choose any of the accounts, but basically just leave it on the first
![9003552adc957ded08d02.png](https://telegra.ph/file/9003552adc957ded08d02.png)
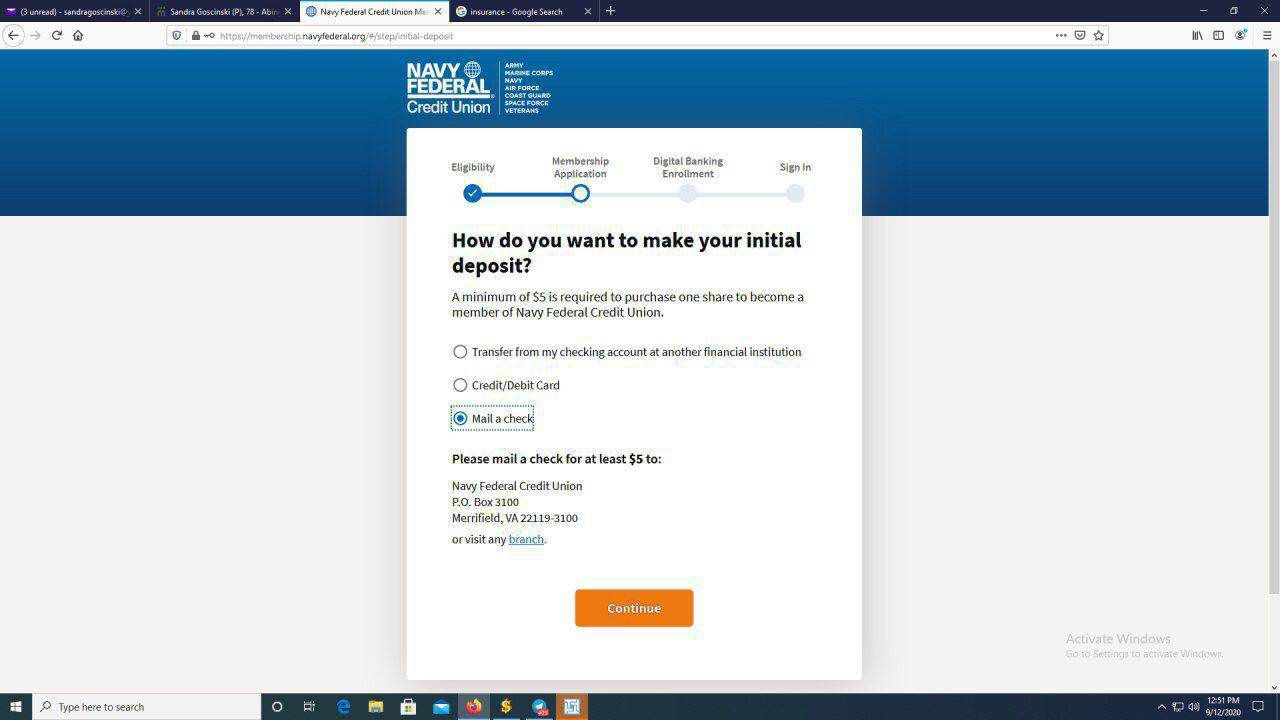
16. Next, select "Mail a check"
![c54ef9abbb17b868b89a4.png](https://telegra.ph/file/c54ef9abbb17b868b89a4.png)
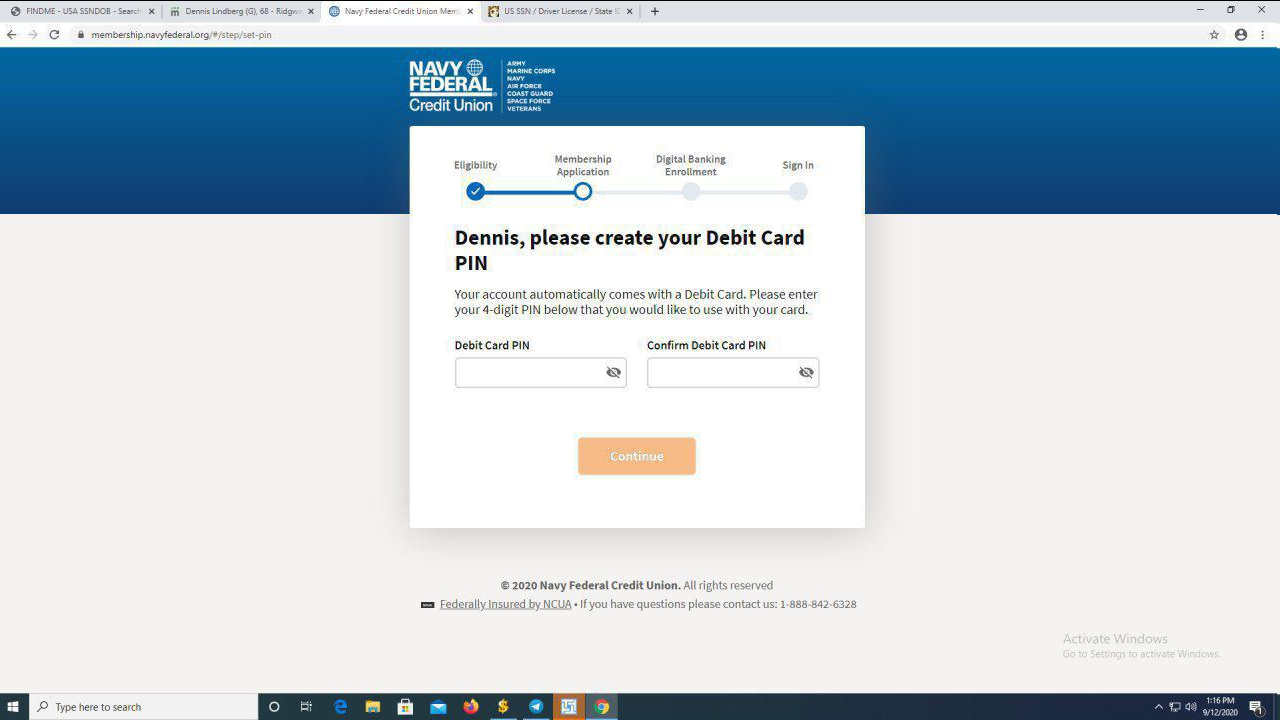
17. On the next page, we come up with a PIN code for the card
![3888ebba6abdc822289cc.png](https://telegra.ph/file/3888ebba6abdc822289cc.png)
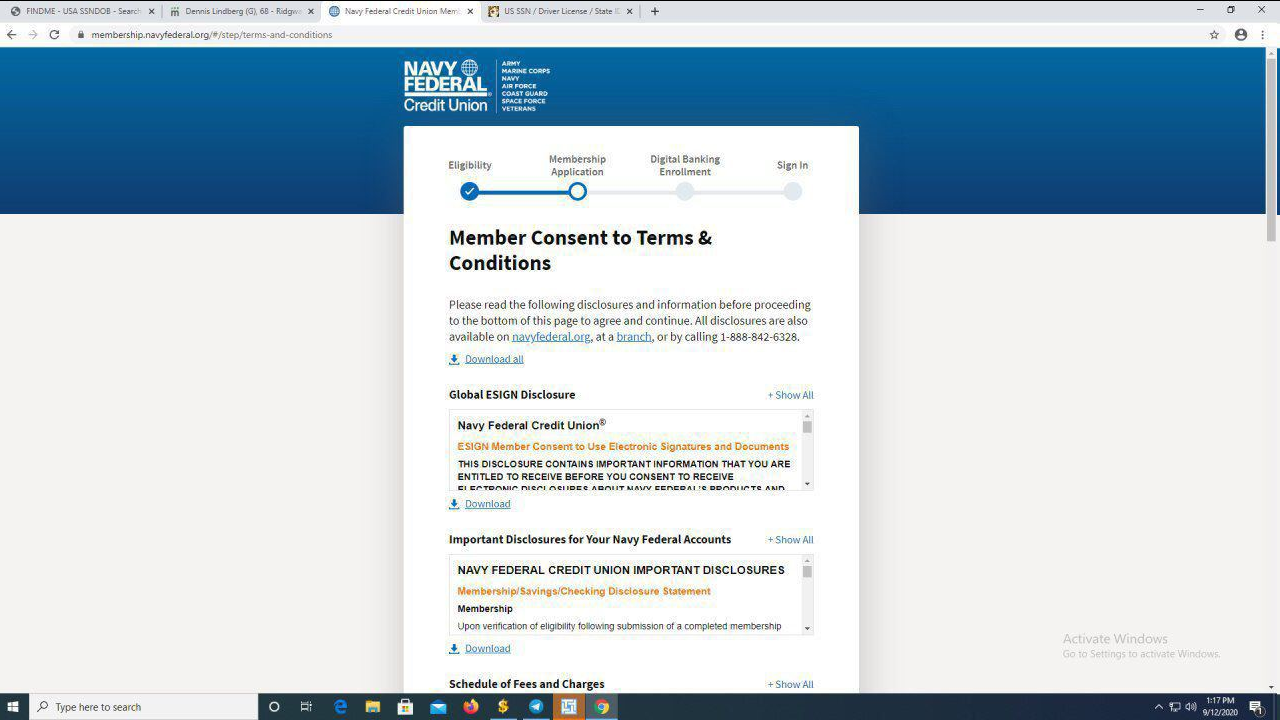
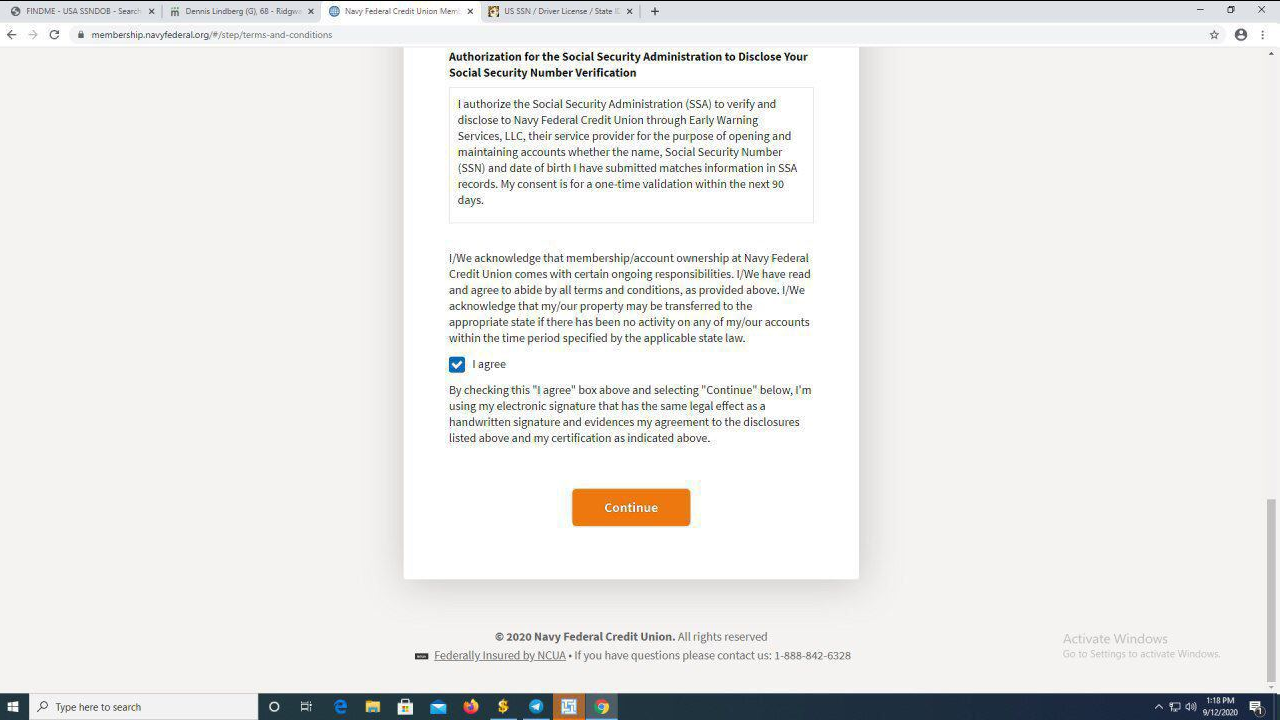
18. Next, scroll down, agree and continue
![289aef9962da39e3e2209.png](https://telegra.ph/file/289aef9962da39e3e2209.png)
![807fdf5ace815bfb80d95.png](https://telegra.ph/file/807fdf5ace815bfb80d95.png)
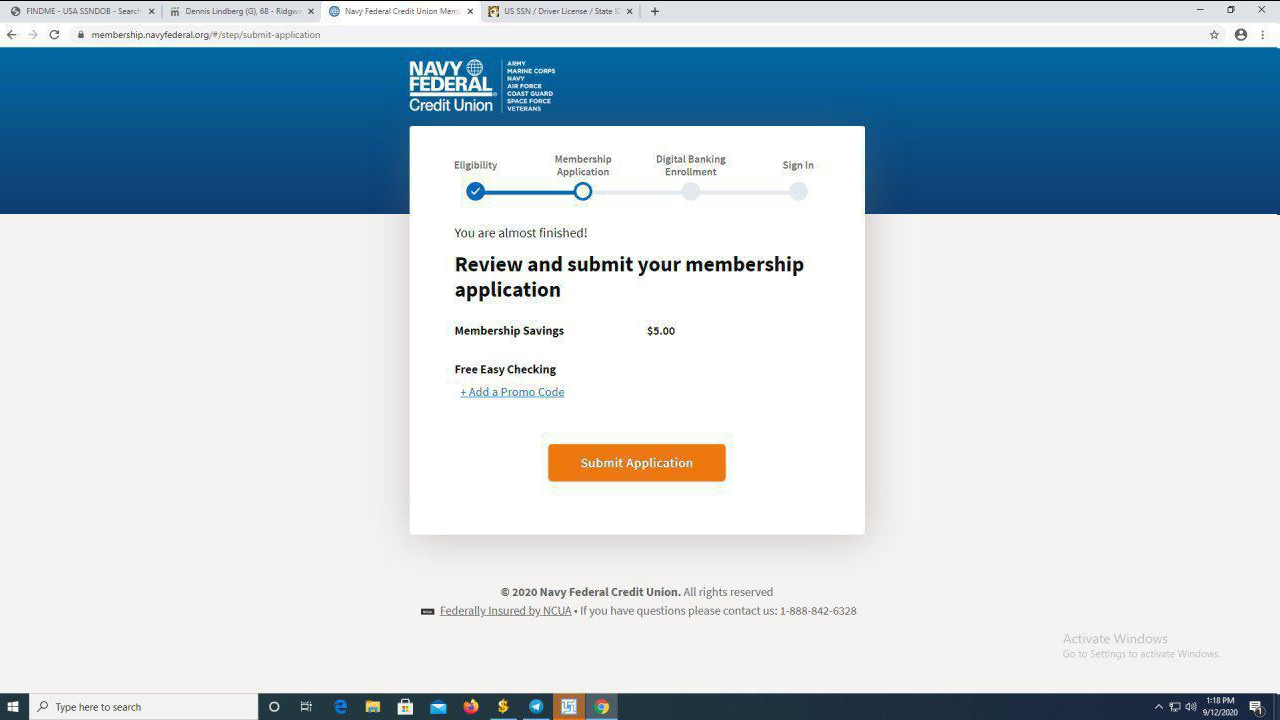
19. So the last step, here it will be decided whether you will be approved or not.
Click "Submit Application"
![b3f9742af9eb81c9498da.png](https://telegra.ph/file/b3f9742af9eb81c9498da.png)
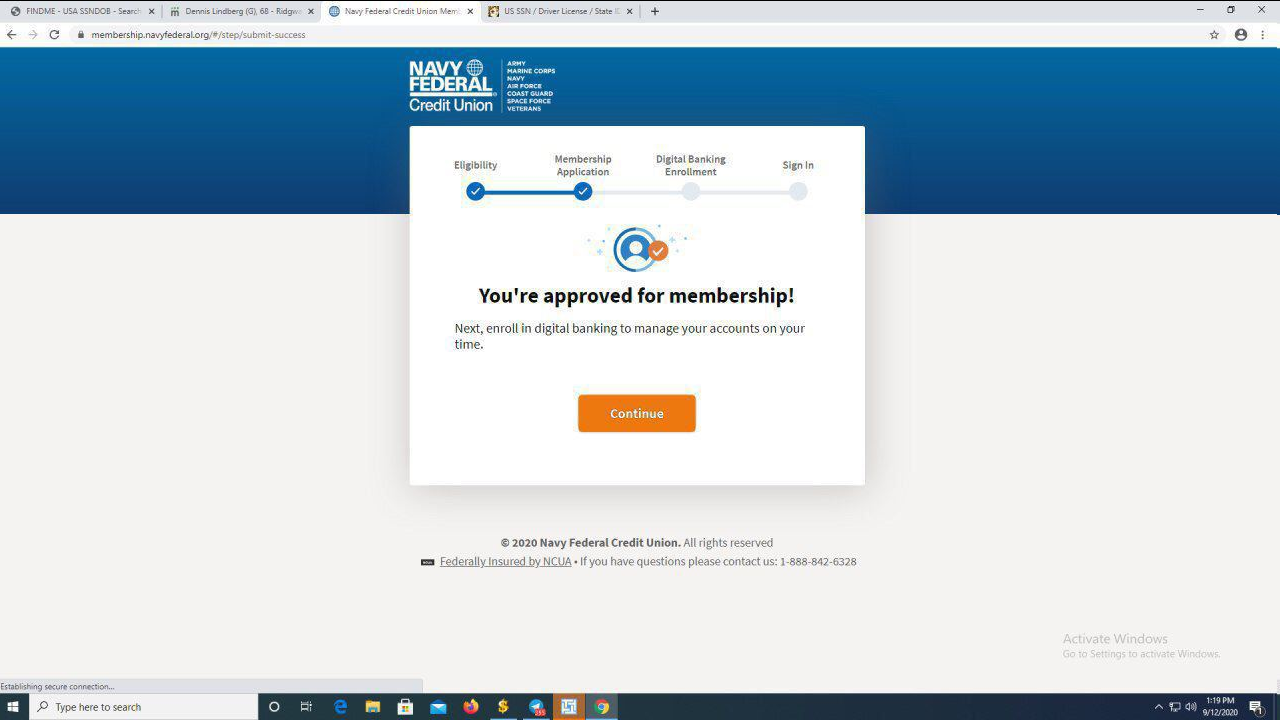
20. Further, if you are approved, click "Continue"
![f781536885a0b3e345dfc.png](https://telegra.ph/file/f781536885a0b3e345dfc.png)
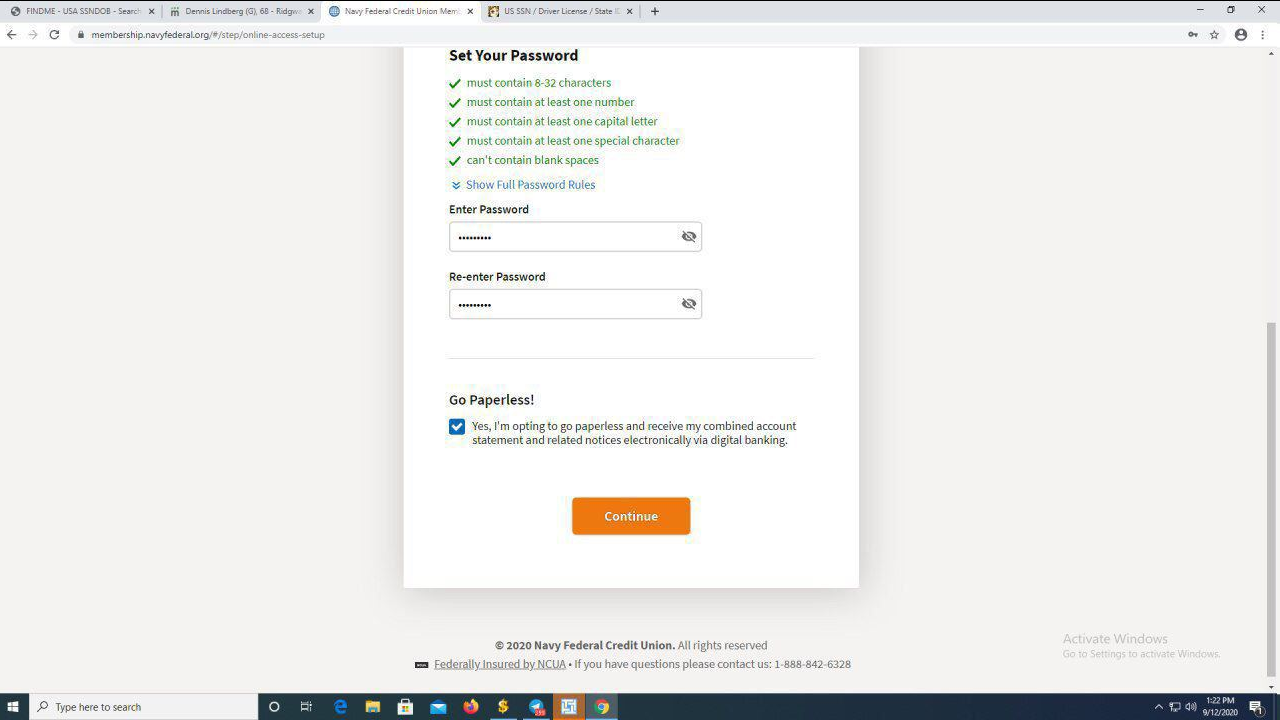
21. Coming up with a username and password
![ebe1da583ffed92ed562a.png](https://telegra.ph/file/ebe1da583ffed92ed562a.png)
Click "Continue"
![070533fdc708d0180f49a.png](https://telegra.ph/file/070533fdc708d0180f49a.png)
22. The next thing you will be shown your data so that you double-check and will transfer you to the account login page
![c82b73fdc86de5b7fb0b2.png](https://telegra.ph/file/c82b73fdc86de5b7fb0b2.png)
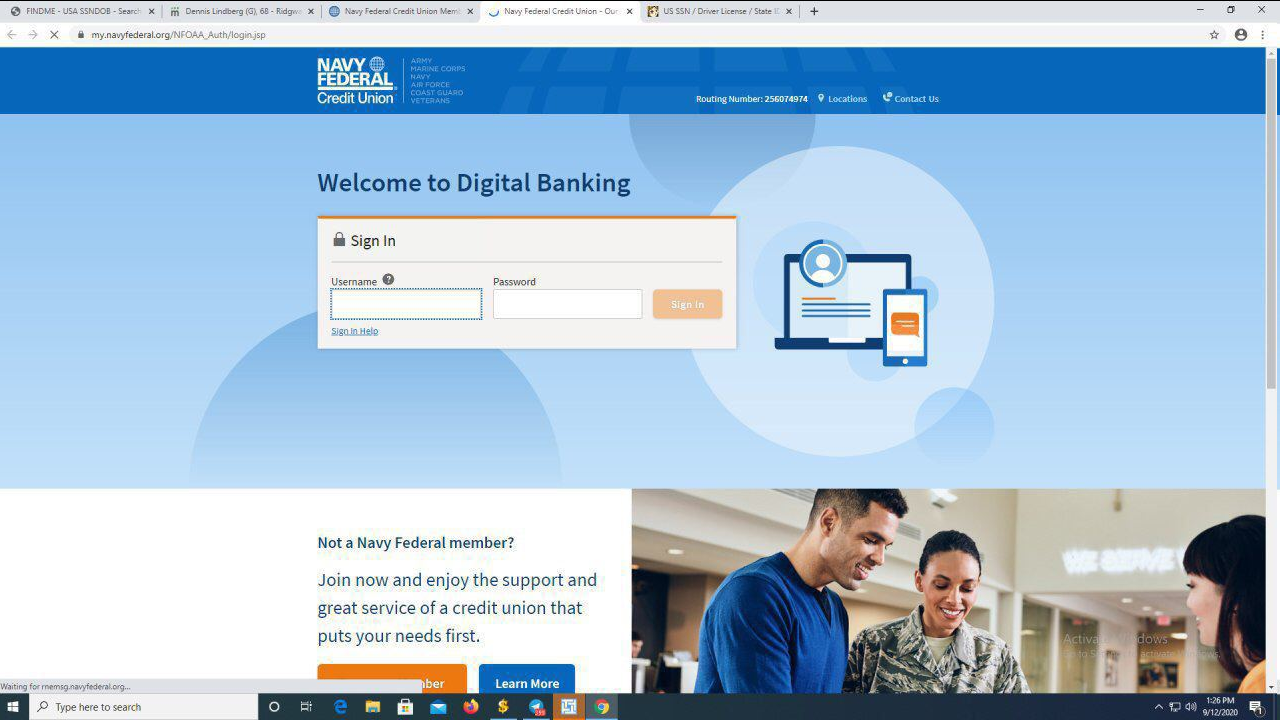
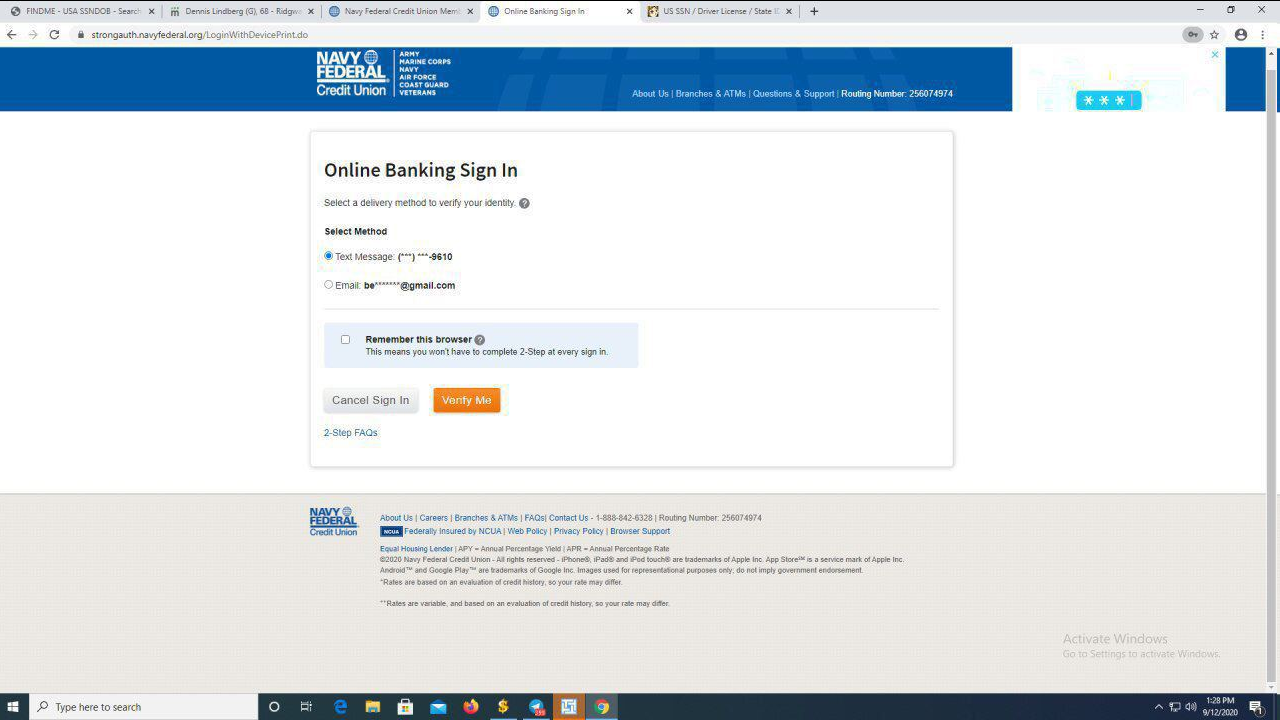
You will be sent a code to your phone or email, depending on your preference.
Choosing mail
![07fc0224a88d5bd7f17b1.png](https://telegra.ph/file/07fc0224a88d5bd7f17b1.png)
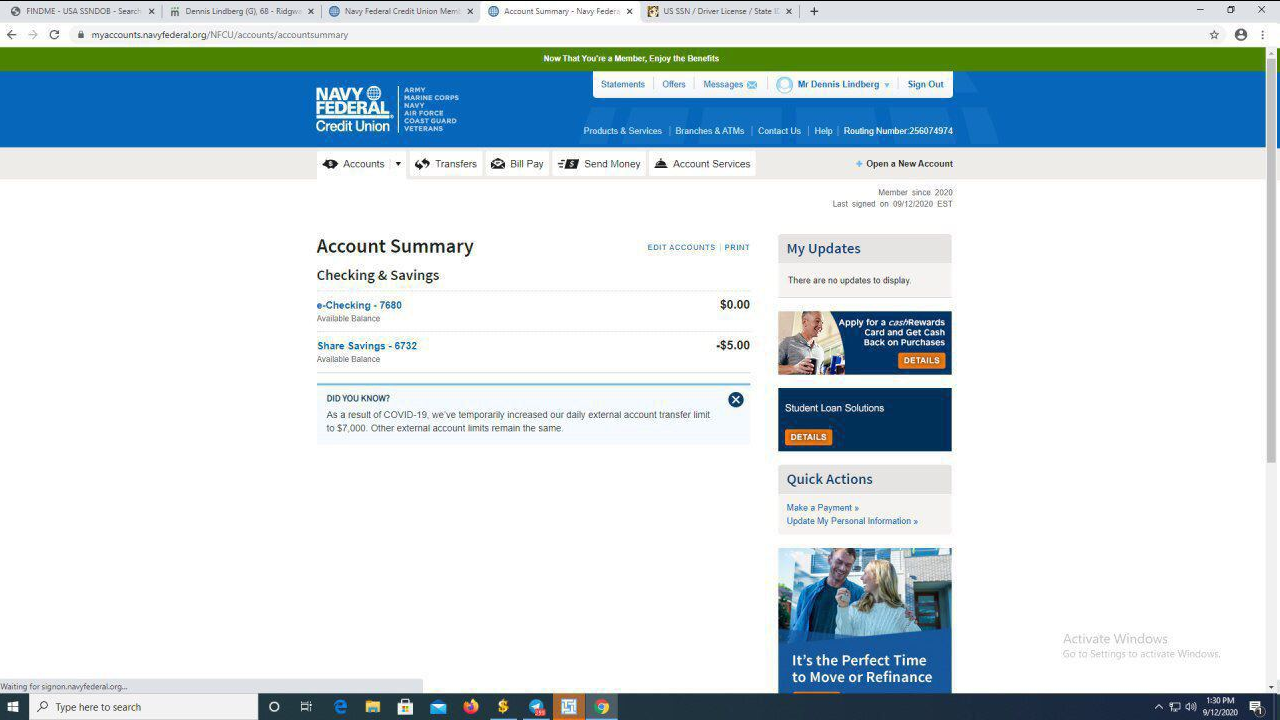
23. We are logged into our Navy account, now we can use it for our work.
![13fe3f94b10061ae11a74.png](https://telegra.ph/file/13fe3f94b10061ae11a74.png)