
Mutt
Professional
- Messages
- 1,457
- Reaction score
- 1,268
- Points
- 113
This material is provided for educational purposes only and was created as part of the study of information security. The author did not publish material for malicious purposes. If someone uses the information for personal gain, then the author is not responsible for any harm or damage caused.
Hello everyone, in this article we will talk about installing wireshark in termux.
Wireshark is an open source program for analyzing traffic on computer networks Ethernet and some others.
Website - https://www.wireshark.org/download.html
First, let's install x11-repo and nano:
Now xterm:
tigervnc:
And wireshark:
Now we need to change one file:
We go to the very end of the file and write:
Save - ctrl + x, y, enter
Now we write:
It remains to create vnc:
On first launch, you will be asked to enter a password.
Now download any application to connect to vnc, I will use Vnc viewer.
We go in, in the ip field we write:
If, when creating vnc in termux, you wrote localhost: 2, then instead of 1 we write 2, with the rest of the numbers the same.
In the name field, though.
It remains only to connect, you will be asked to enter the password that you entered when you first created the vnc server.
After connecting, you will see this:
We write here:
You will now have wireshark running:
Well, actually, that's all)
Hello everyone, in this article we will talk about installing wireshark in termux.
Wireshark is an open source program for analyzing traffic on computer networks Ethernet and some others.
Website - https://www.wireshark.org/download.html
First, let's install x11-repo and nano:
Code:
pkg update
pkg upgrade
pkg install x11-repo
pkg install nano
Now xterm:
Code:
pkg install xtermtigervnc:
Code:
pkg install tigervncAnd wireshark:
Code:
pkg install wireshark-gtkNow we need to change one file:
Code:
cd $ HOME
nano ../usr/etc/bash.bashrc
We go to the very end of the file and write:
Code:
export DISPLAY = ": 1"Save - ctrl + x, y, enter
Now we write:
Code:
source ../usr/etc/bash.bashrcIt remains to create vnc:
Code:
vncserverOn first launch, you will be asked to enter a password.
Now download any application to connect to vnc, I will use Vnc viewer.
We go in, in the ip field we write:
Code:
127.0.0.1:5901If, when creating vnc in termux, you wrote localhost: 2, then instead of 1 we write 2, with the rest of the numbers the same.
In the name field, though.
It remains only to connect, you will be asked to enter the password that you entered when you first created the vnc server.
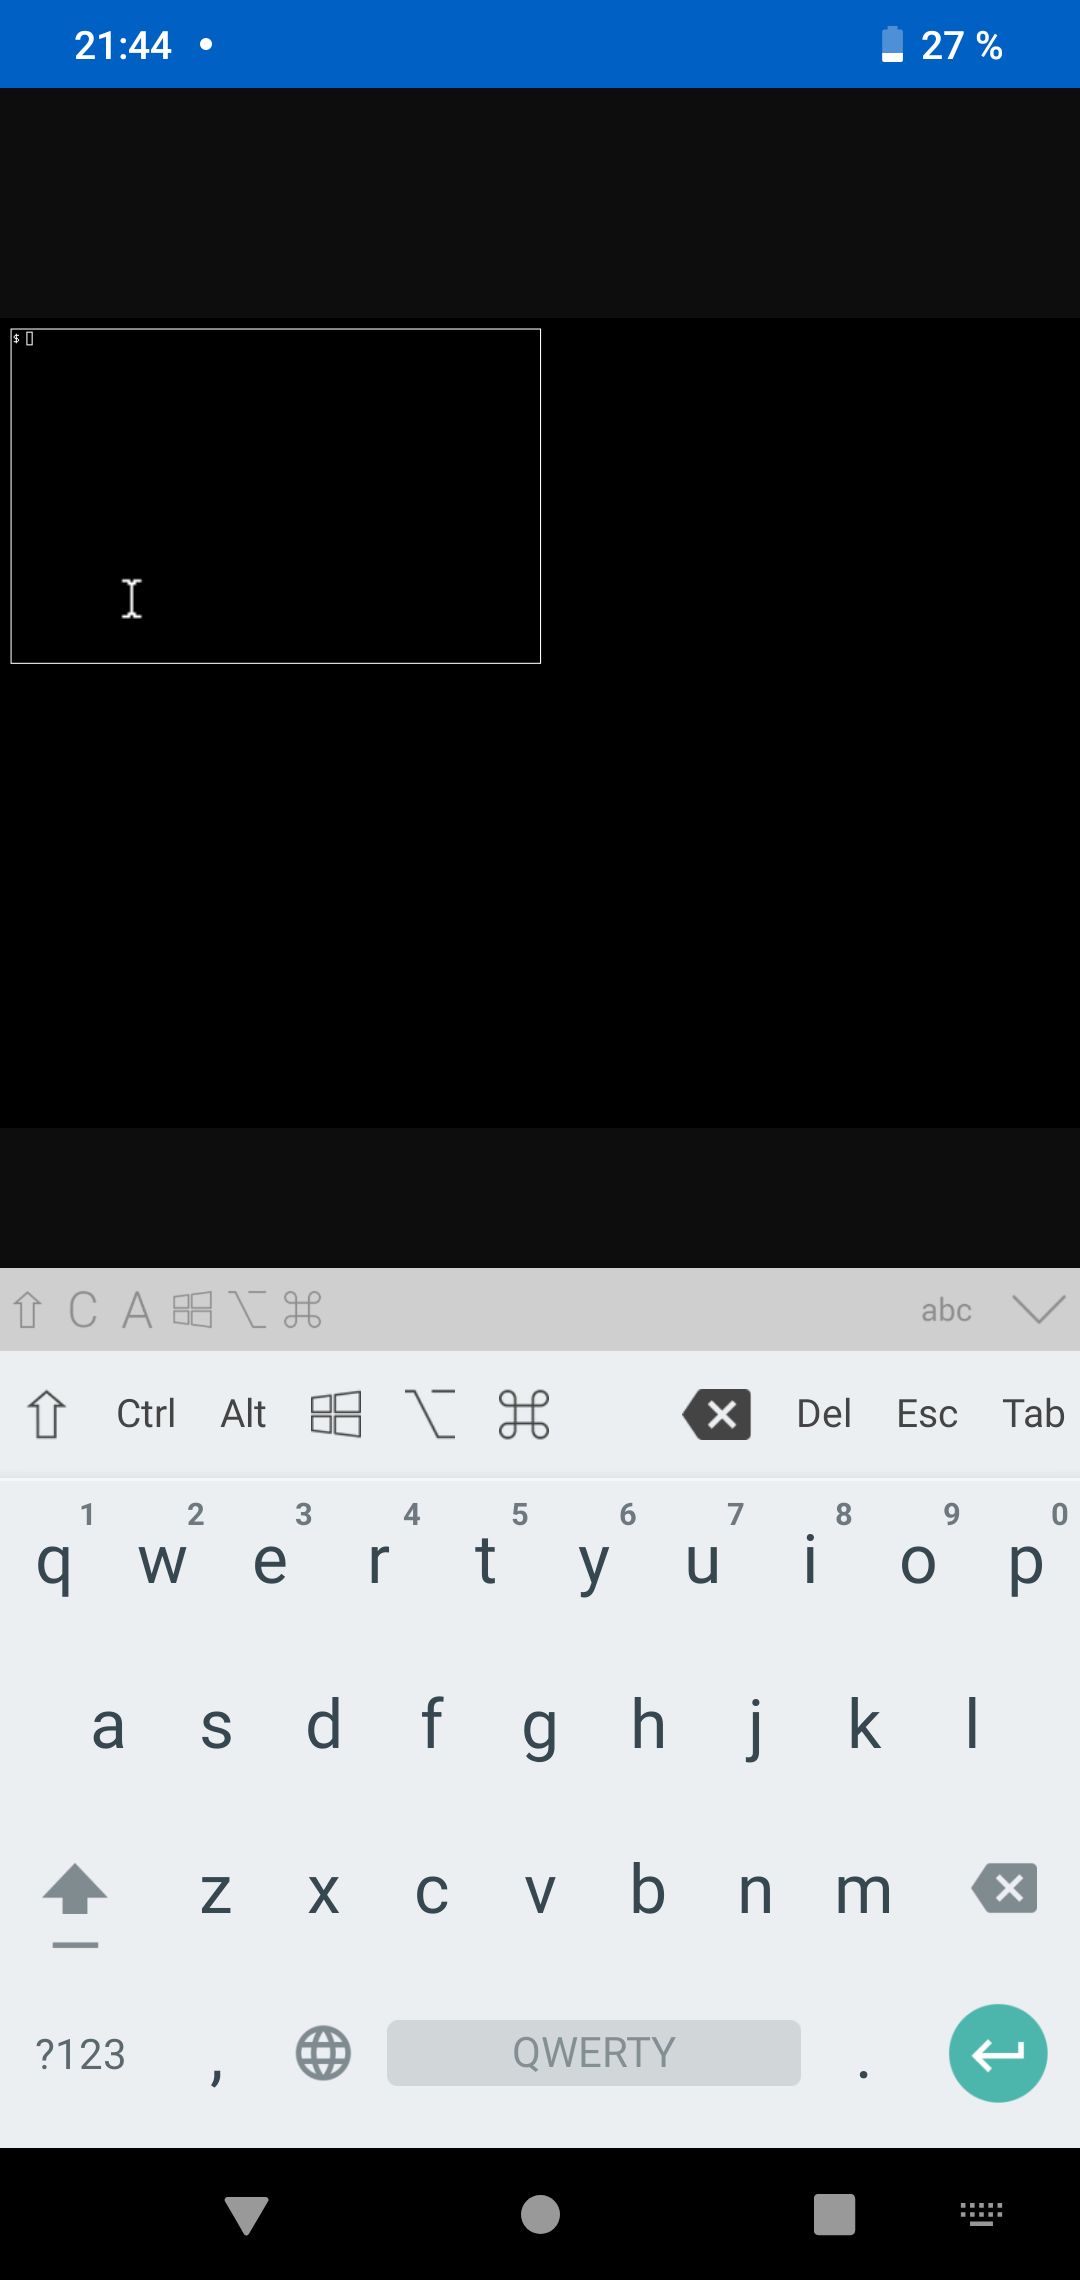
After connecting, you will see this:
We write here:
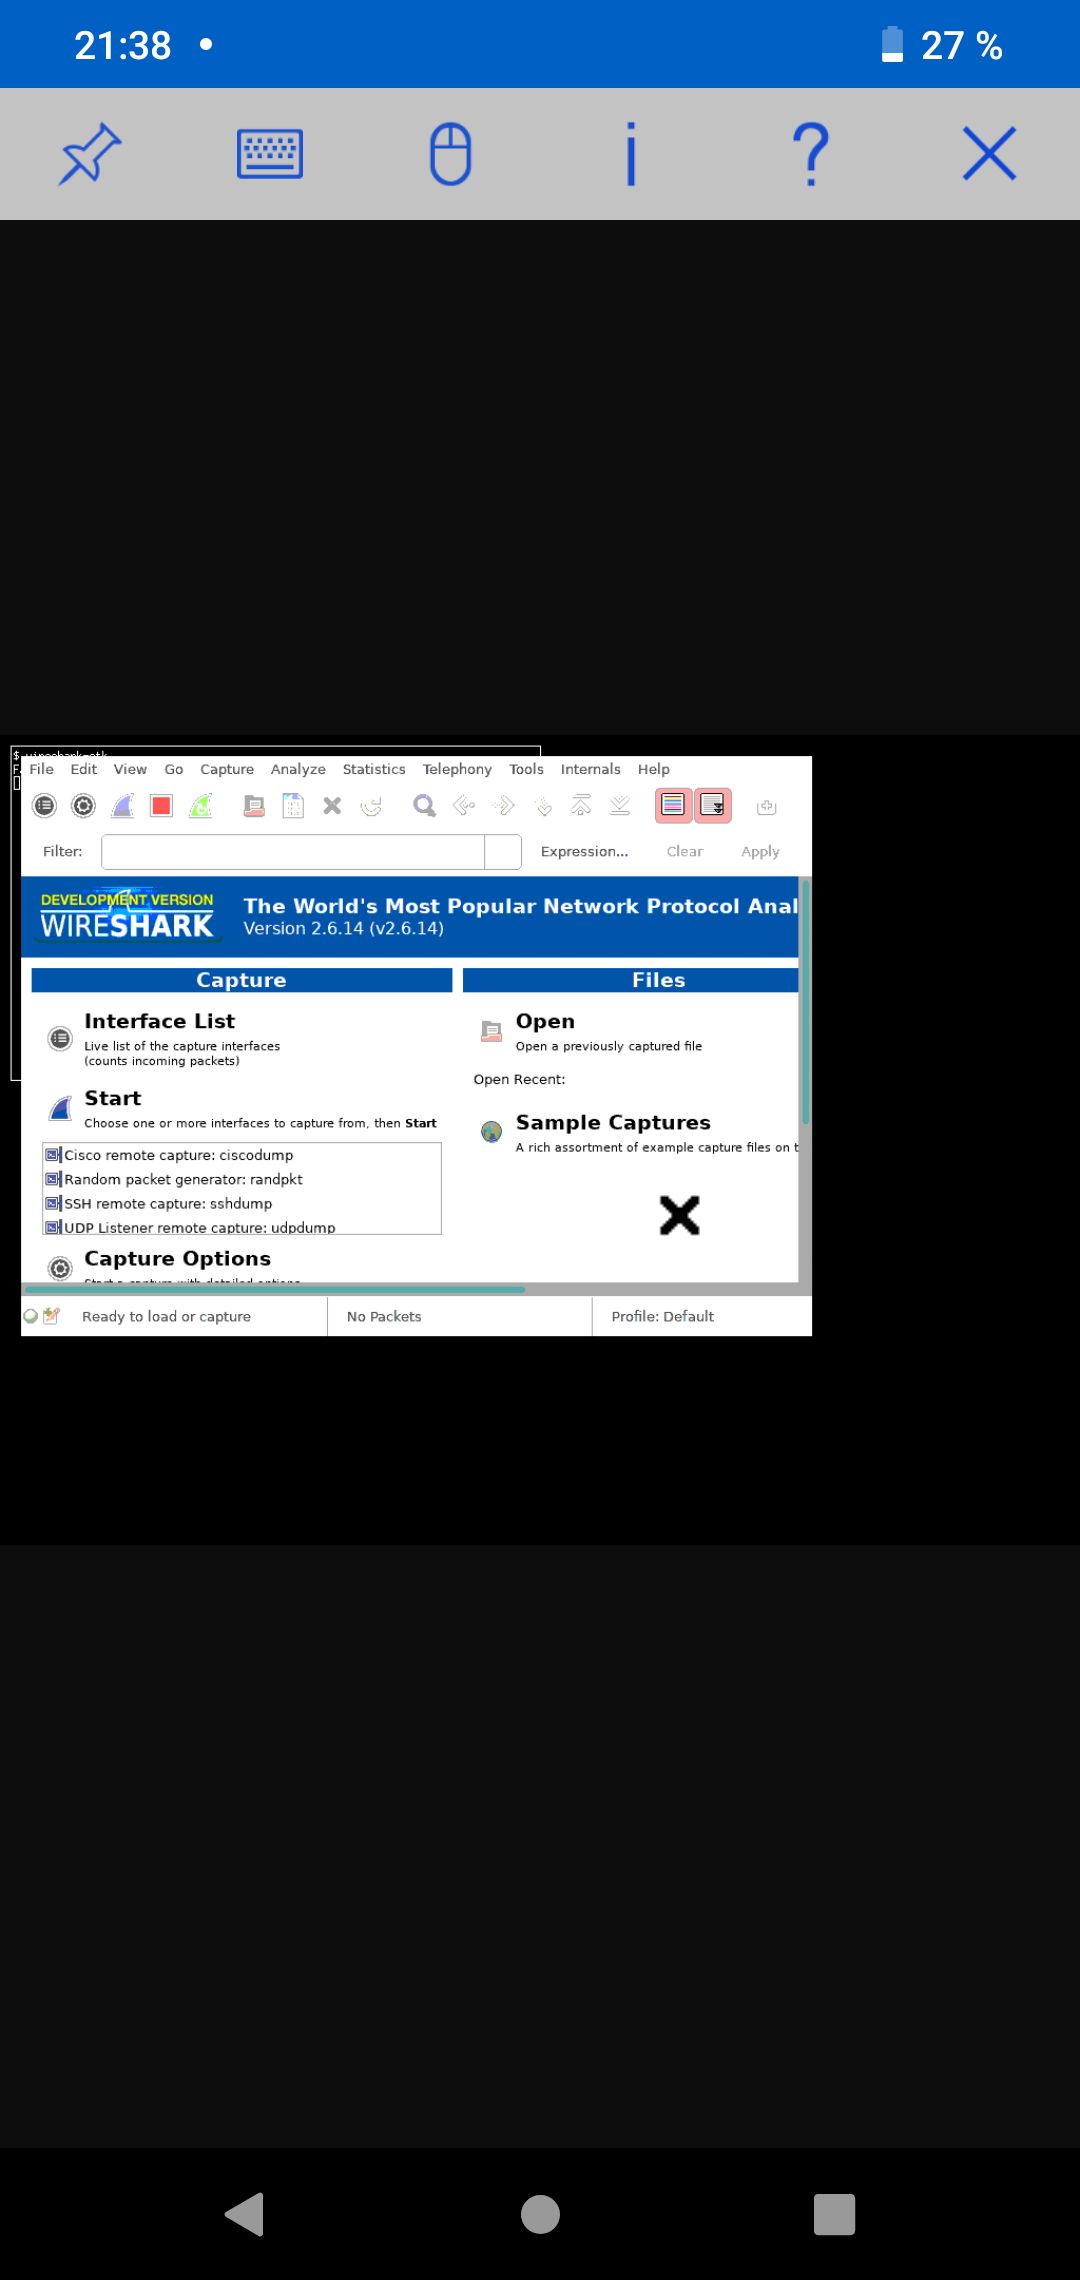
Code:
wireshark-gtkYou will now have wireshark running:
Well, actually, that's all)