Lord777
Professional
- Messages
- 2,577
- Reaction score
- 1,556
- Points
- 113

There are many reasons to use a VPN: from the classic task of connecting several remote local network segments into one virtual private network or increasing your own privacy on the network to gaining access to blocked resources.
In this article I will not consider the question why you need a VPN at all, but just tell you how to raise a private VPN server in the Netherlands in 10-15 minutes with minimal financial costs.
Translated with www.DeepL.com/Translator (free version).
What we will need
To create a VPN server, we will need:• VPS in a European data center.
From the characteristics we look only at the available bandwidth (preferably, it is not less than the speed of your home Internet) and the rental cost per month. The number of cores, amount of RAM, disk storage capacity and its performance - all these parameters of VPS are important for web-server, but are not essential for organizing VPN-service. We only need a European IP-address, a normal width of the Internet channel and low rental cost.
• Minimal skills to work in the console via SSH.
I think that for the readers of my blog it won't be a problem, but if it is I refer you to my old article about SSH remote access using Raspberry Pi as an example, the basics are explained there.
Our private VPN server will support IPSec, L2TP over IPSec and IKEv2 connections.
Why not a public VPN service?
Public VPNs have several disadvantages:- Roskomnadzor is fighting them with varying success. For example, the popular Cloudflare WARP service stopped working in Russia some time ago, and the possibility of using Opera VPN in Russia and Belarus a year ago was limited by the developers themselves after receiving warnings about the blocking of the service by the department employees.
- Public VPN services collect information about you. Despite the fact that every VPN lists privacy and confidentiality as its merits, it would be very naive to assume that they do not log, analyze user activity and sell this data to third parties in the future.
- Public VPN services can be banned on the side of individual sites. The same applies to the exit-node of the Tor network.
- Public VPN services can cut speeds. And if we are talking about free plans, the speed will definitely be limited. You can still use them for web surfing, but if, for example, in the future we have YouTube blocked, then watching it through a public VPN can be problematic.
Why not OpenVPN / WireGuard / Outline VPN?
Why do I propose VPNs based on IPSec and IKEv2 rather than OpenVPN or the increasingly popular WireGuard or Outline?Because IPSec and IKEv2 are supported by all modern devices at the system level, have a fairly high performance, are easy to configure and do not require installation of any additional software. Whereas OpenVPN, WireGuard and Outline require additional software on the client devices.
I've always been attracted to simple, minimalistic and self-sufficient solutions, so I don't like the prospect of installing separate applications to connect to my own virtual private network. And I don't see how using WireGuard or Outline VPN would benefit the average home user compared to IKEv2.
Rent VPS in Europe
At the time of writing this article, I found 2 hosting companies that provide VPS in the Netherlands at a reasonable price:• Aeza with the promotional rate AMS-PROMO (1 vCPU / 8GB RAM / 20GB NVMe) for 99 rubles per month.
• VDSina with a minimum tariff (1 vCPU / 1GB RAM / 30GB NVMe) for 198 rubles per month
I chose Aeza with their 99-ruble tariff. They guarantee speed of at least 100 Mbps (maximum possible - 1 Gbps, but gigabit link is shared between several virtual machines, so in reality the speed will be lower), one dedicated IP-address and no traffic limitation.
So, let's register at https://aeza.net and start signing up for a VPS.
Promo code
With promo code [ PROMKOD ] you can get 200 rubles to your bonus balance and use them if you deposit at least 300 rubles to your main balance. But first it is enough to pay the minimum 99 rubles to rent a VPS for a month and test its work. Bonuses can be used later, if satisfied with the quality of services.Promo-rate is available only when creating a virtual server in the "Netherlands" location:
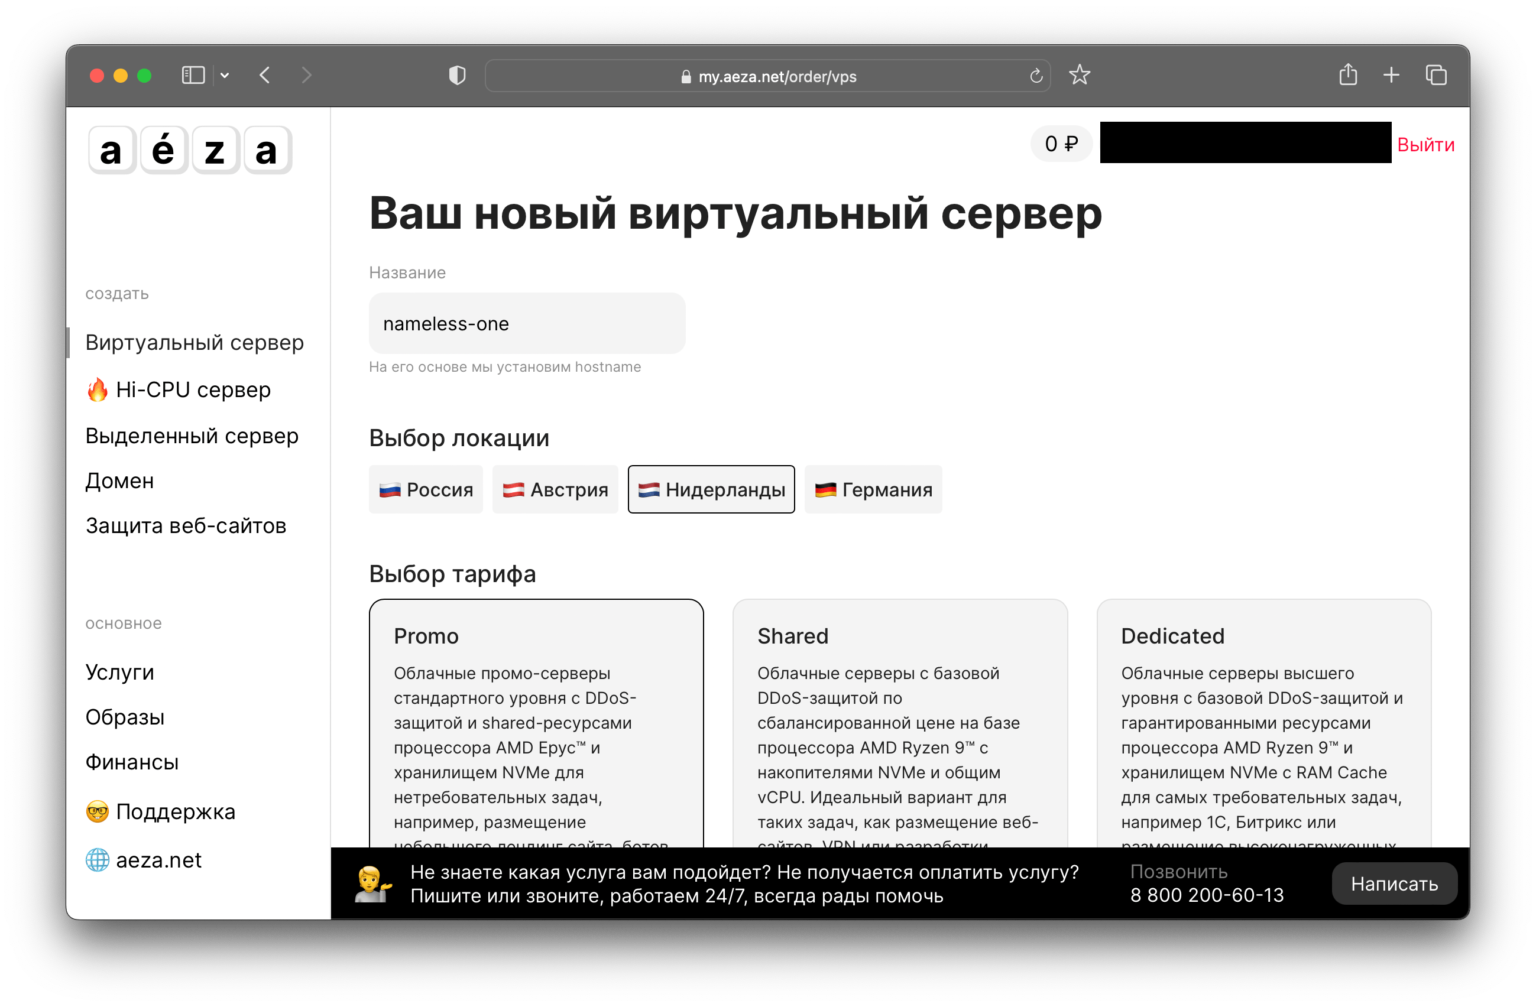
Choose a server name and an operating system. I chose Ubuntu 22.04 as the most familiar.
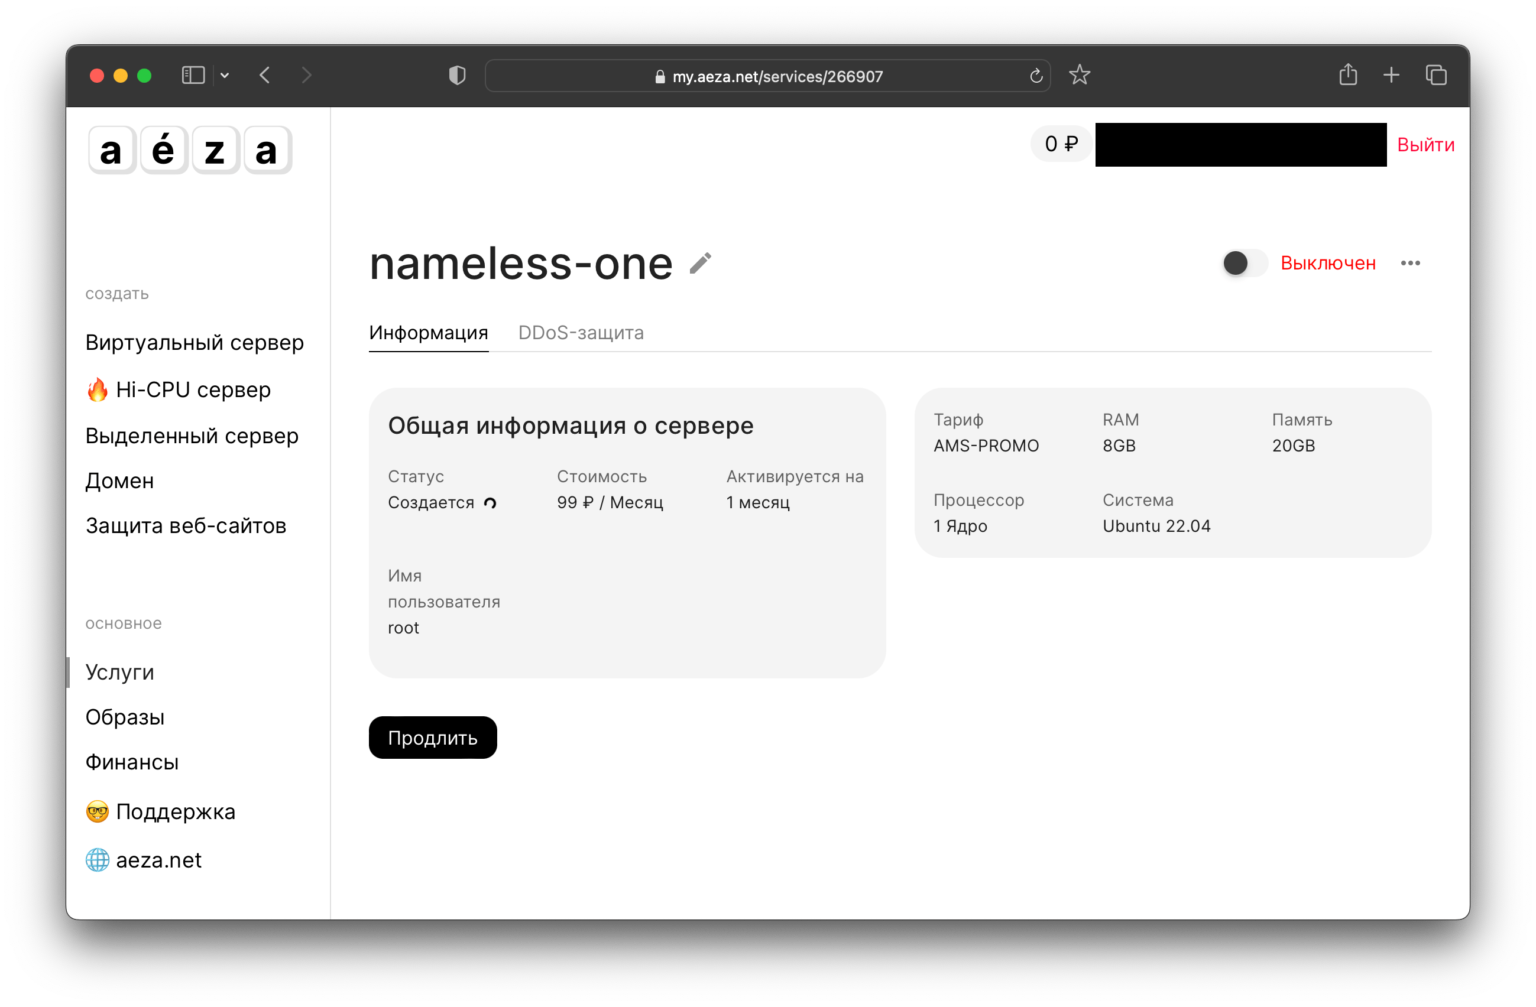
After payment, the hosting will start to create a VPS, it takes a few minutes:
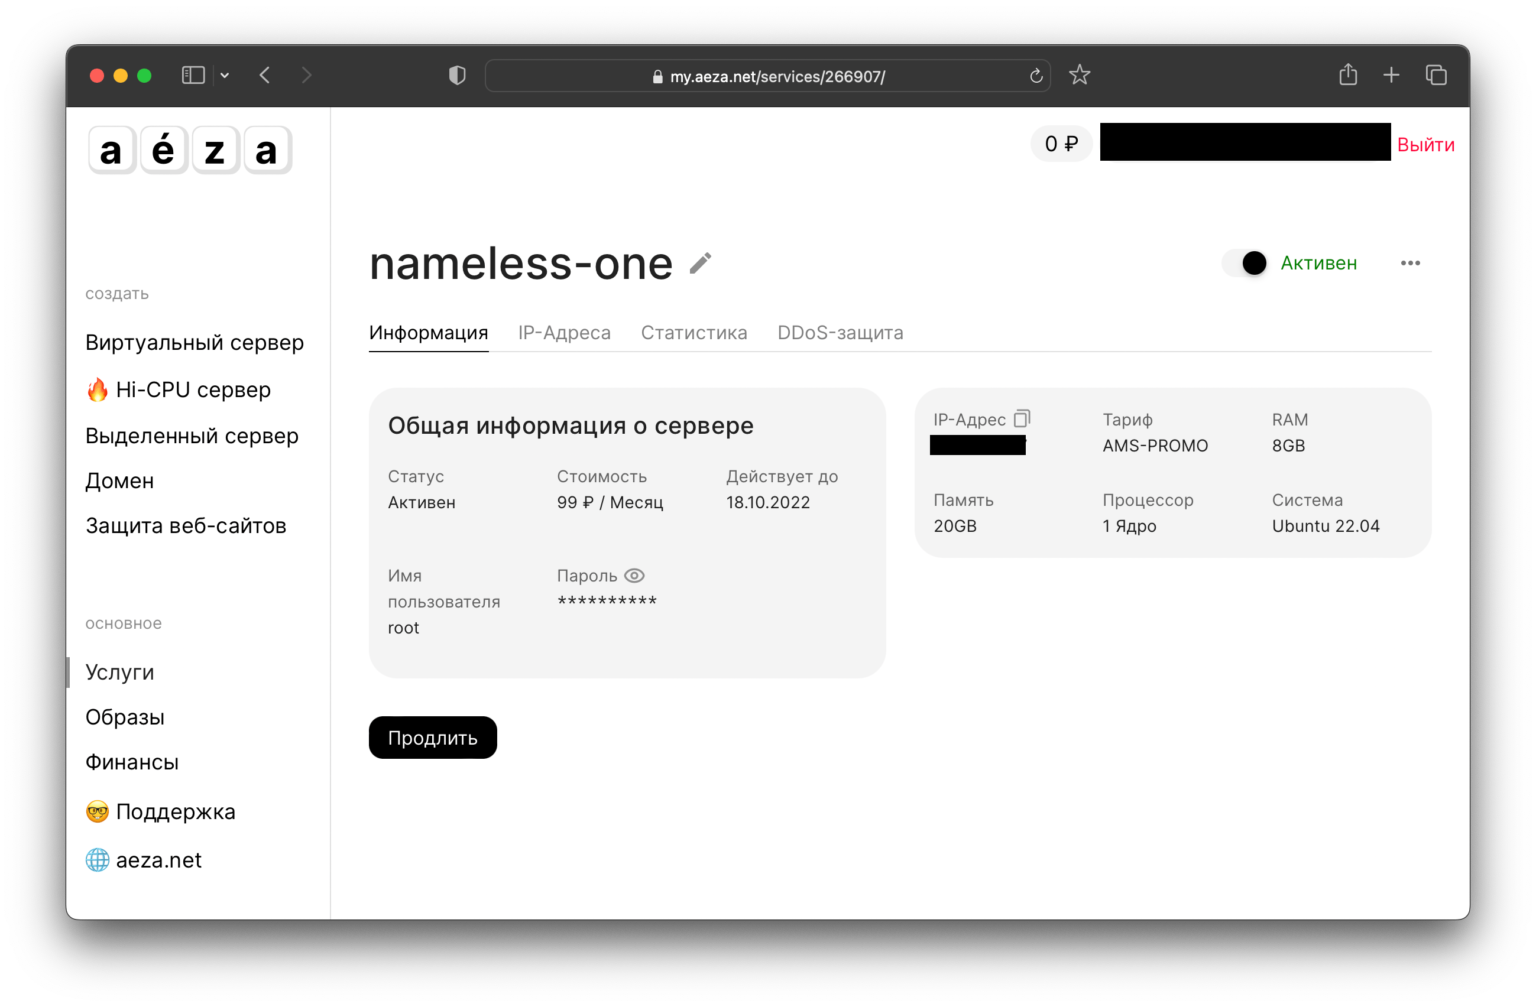
After the installation process is complete, the server IP address and access data will appear in the hosting panel:
Installing a VPN server
After completing the process of creating a VPS, connect to the server via SSH, using the accesses from the admin panel hosting: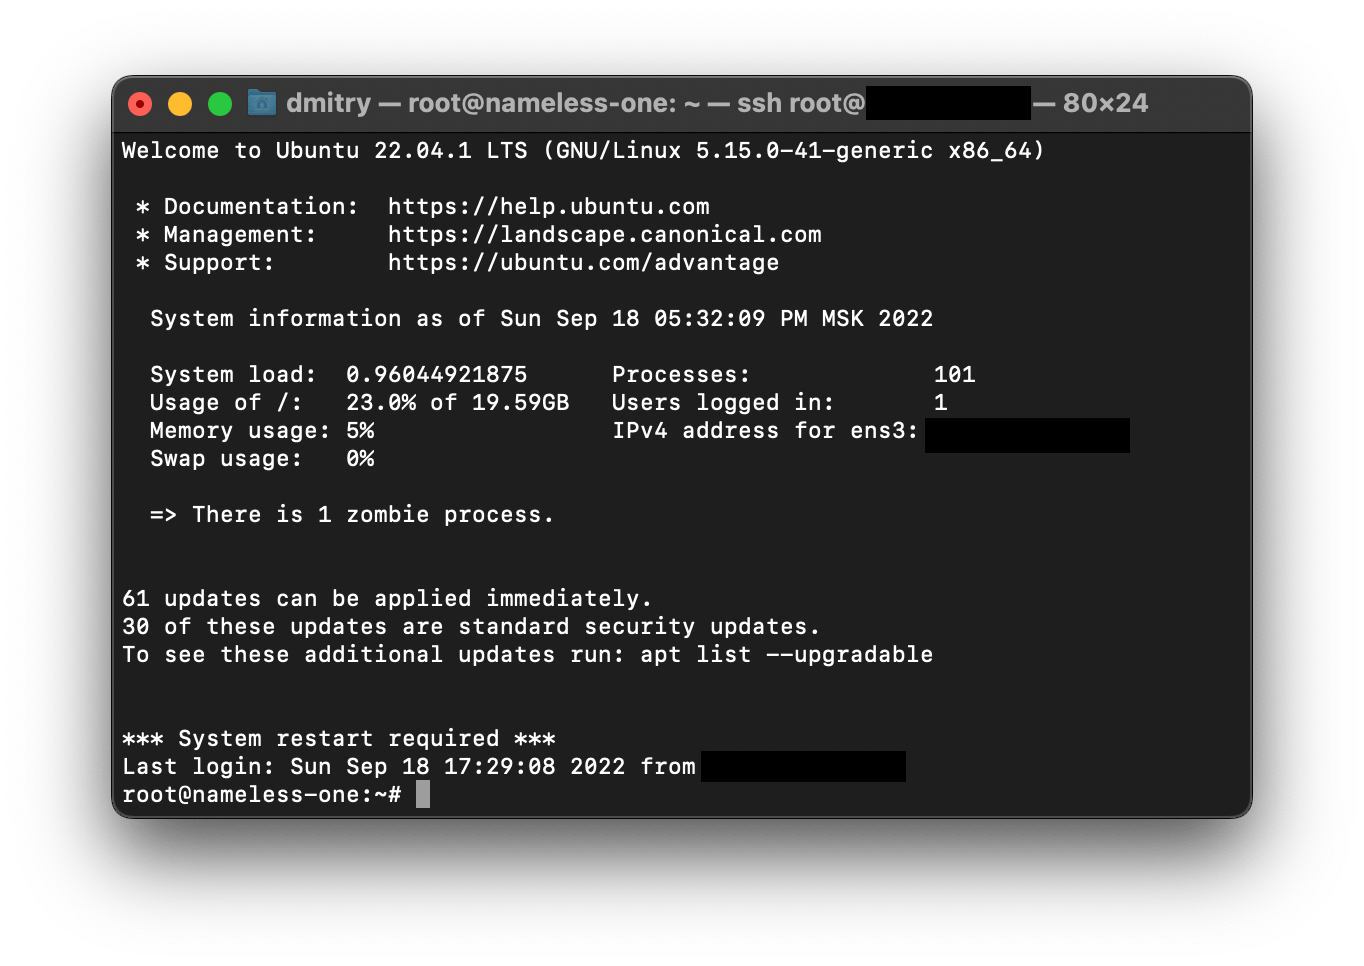
Immediately update all packages:
sudo apt update
sudo apt dist-upgrade
Download the VPN server deployment script:
wget https://git.io/vpnsetup -O vpnsetup.sh
Open the downloaded file for editing:
sudo nano vpnsetup.sh
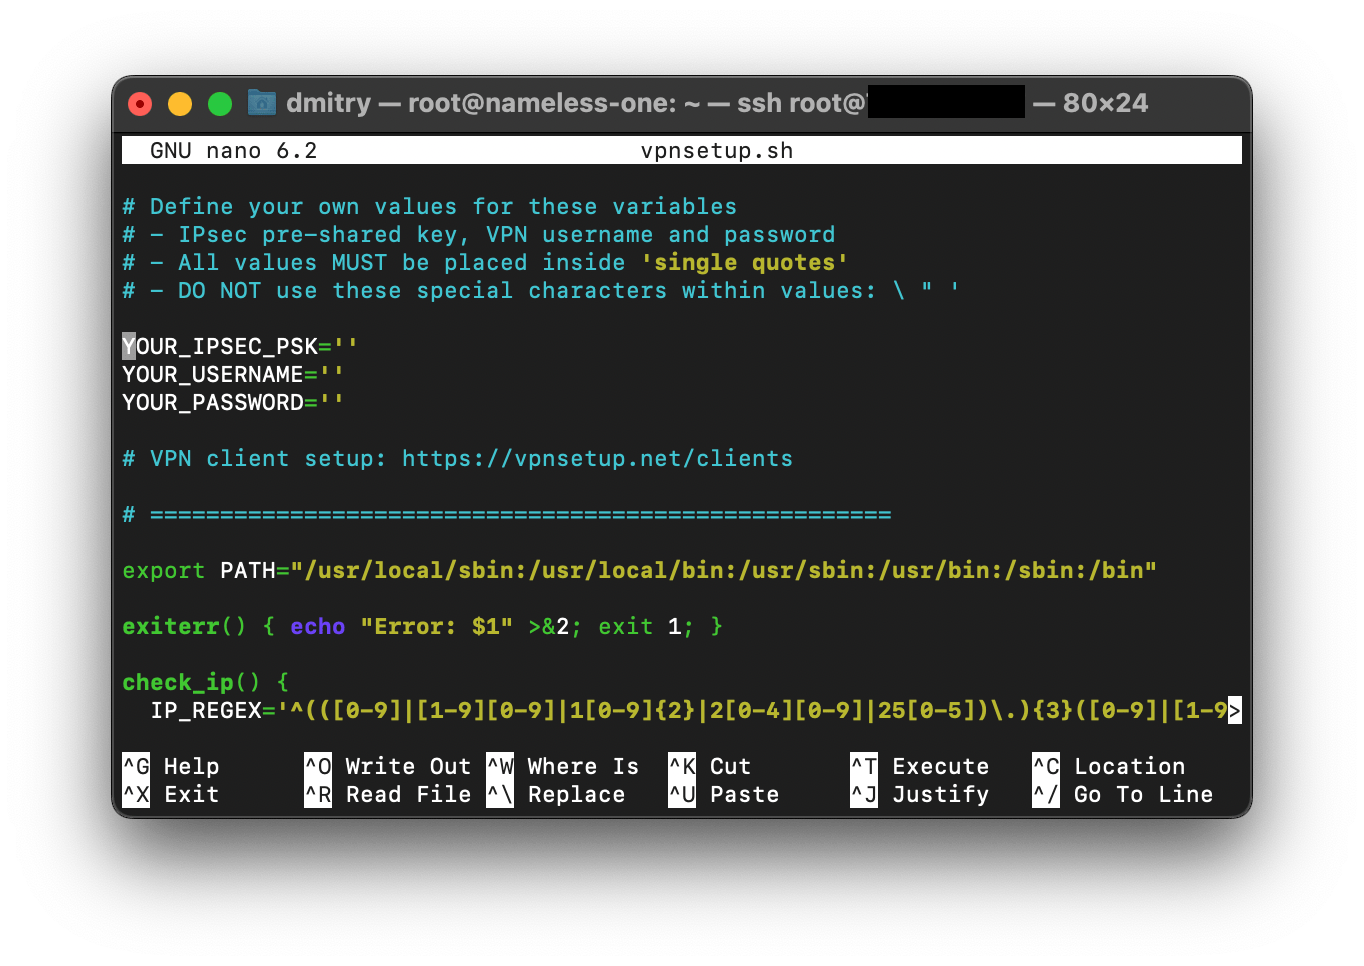
Enter in line YOUR_IPSEC_PSK the password of 20 characters, and in the lines YOUR_USERNAME and YOUR_PASSWORD your login and password for the VPN connection respectively:
And start the installation process:
sudo sh vpnsetup.sh
Wait for the process to finish and pay attention to the paths to the configuration files:
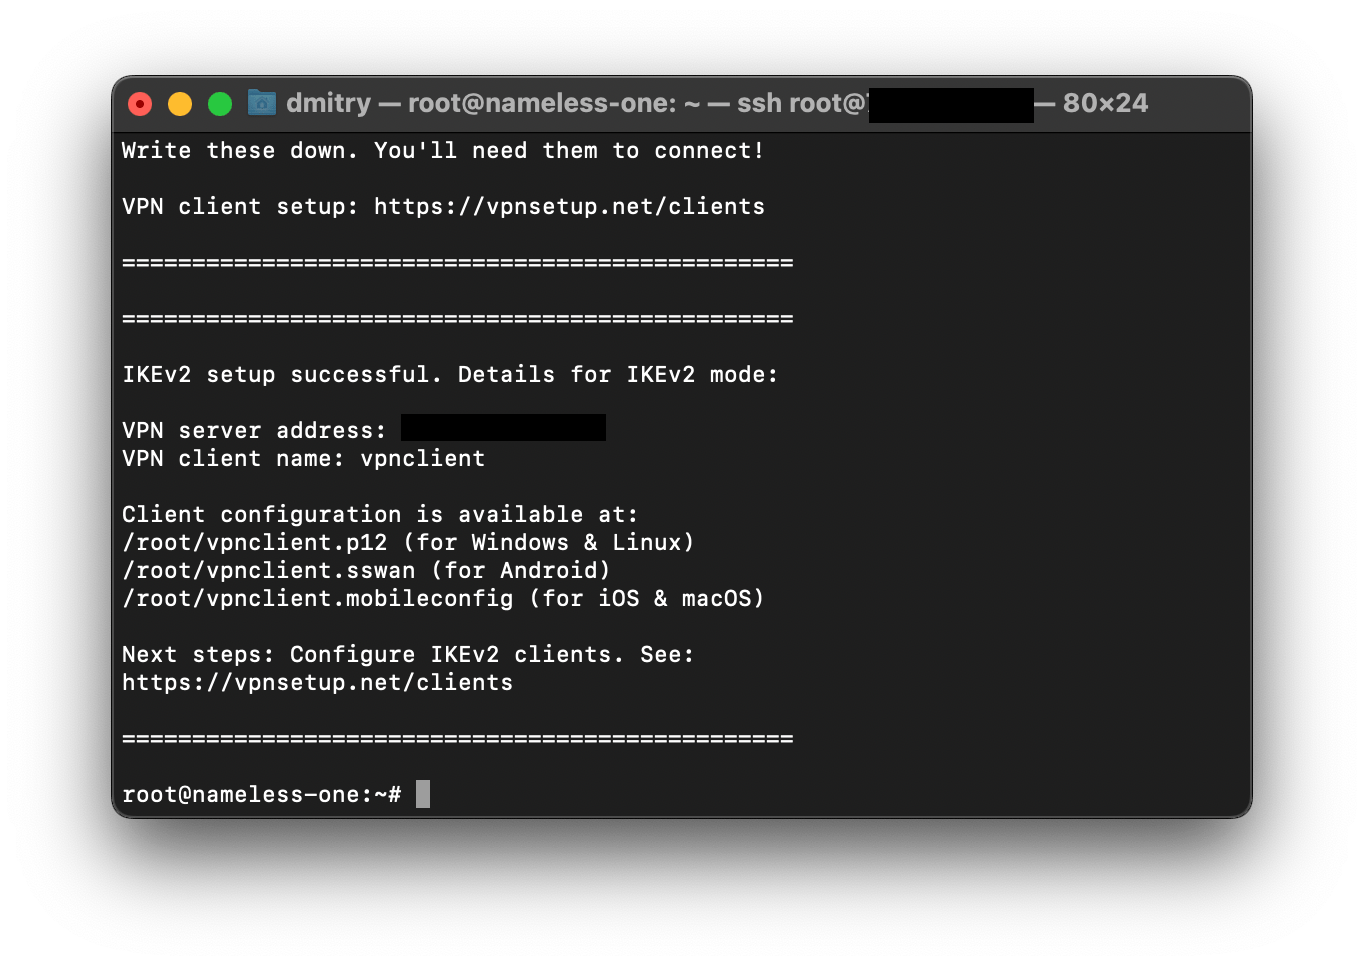
These files will be required for setting up a VPN tunnel via IKEv2, which we will consider further in the article. If IKEv2 doesn't suit you for some reason, you can alternatively establish an IPSec VPN connection using the access data you specified earlier in the vpnsetup.sh script.
At this point the installation process is complete, but since our VPS is externally accessible to the entire Internet, for security purposes we will add to the ufw firewall rules that restrict access to all ports except those that we plan to use:
sudo ufw allow ssh
sudo ufw allow OpenSSH
sudo ufw allow 500,4500/udp
sudo ufw allow 8181
sudo ufw enable
It's important.
Do not start ufw before adding rules to allow SSH access on port 22, otherwise immediately after starting the firewall will break the current SSH connection and will block all subsequent connections.This completes the installation of the VPN server. I was not exaggerating when I wrote in the title of the article that it would take 10 minutes.
Setting up connections
Now it remains to set up connections to our VPN server on your devices.Among the standard Python packages there is an http server that allows you to access any desired folder on your device in the web interface. Let's take advantage of it:
python3 -m http.server 8181
And we address our VPS in the browser to the IP address on port 8181:
This will open a listing of the home directory of the user root:
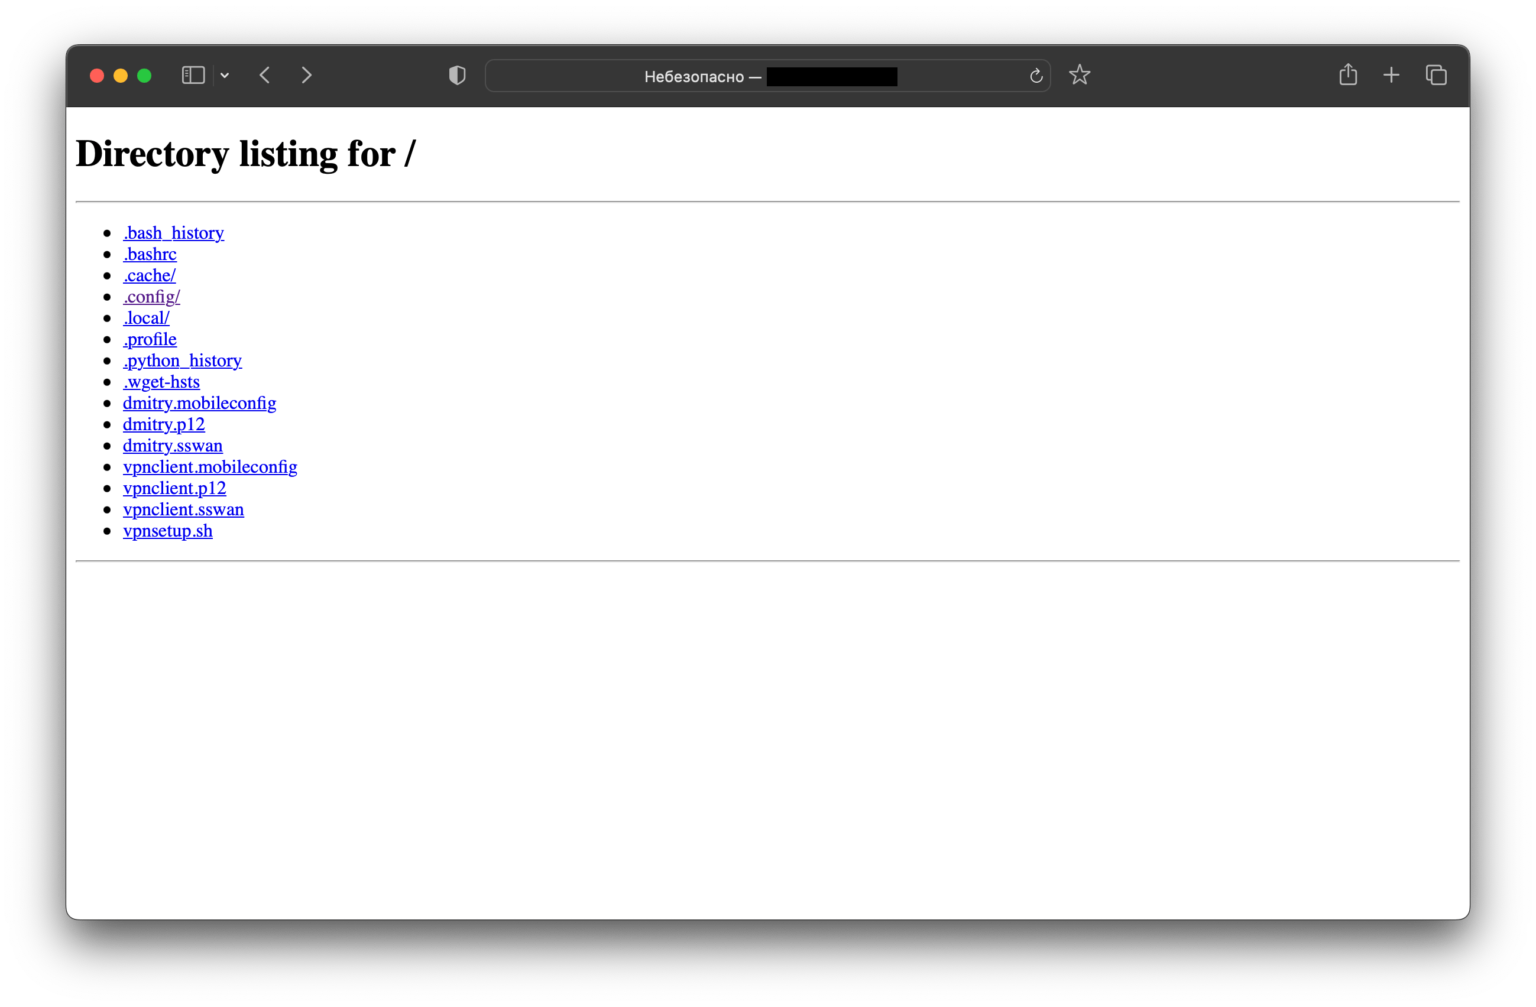
To configure the connection, download the file vpnclient.p12 (for Windows or Linux), vpnclient.sswan (for Android devices) or vpnclient.mobileconfig (for iOS or macOS).
After downloading, do not forget to shut down the web-server by interrupting the command in the terminal with the Ctrl + C key combination
In macOS
- Download and run the file vpnclient.mobileconfig
- Go to "System Settings" → "Profiles"
- Click "Install..." next to the certificate displayed in the list
- Go to "System Settings" → "Network", select the connection with the IP-address of our VPS in the left menu and click "Connect".
- Optionally, you can check the "Connect on Demand" checkbox, and then the VPN will be activated automatically each time you connect to the Internet
In Windows
- Download and run the file vpnclient.p12
- Download the ikev2_config_import.cmd script into the same folder as vpnclient.p12
- Run the ikev2_config_import.cmd script as an administrator
- In the dialog that opens, leave the default VPN-client name, specify the IP-address of the server, select the preferred name of the VPN connection and click any button to exit the dialog.
- Connect to your VPN server in the Manage Network Connections tab
In iOS and iPadOS
- Download the vpnclient.mobileconfig file
- Respond "Allow" to the question "The website is trying to load a configuration profile. Allow?"
- Go to "Settings", select the new item "Profile loaded" and click "Install"
- Go to "Settings" → "VPN", choose the connection with the IP-address of our VPS and click on the connection switch
- Optionally, you can check the "Connect on Demand" checkbox, and then the VPN will be activated automatically each time you connect to the Internet
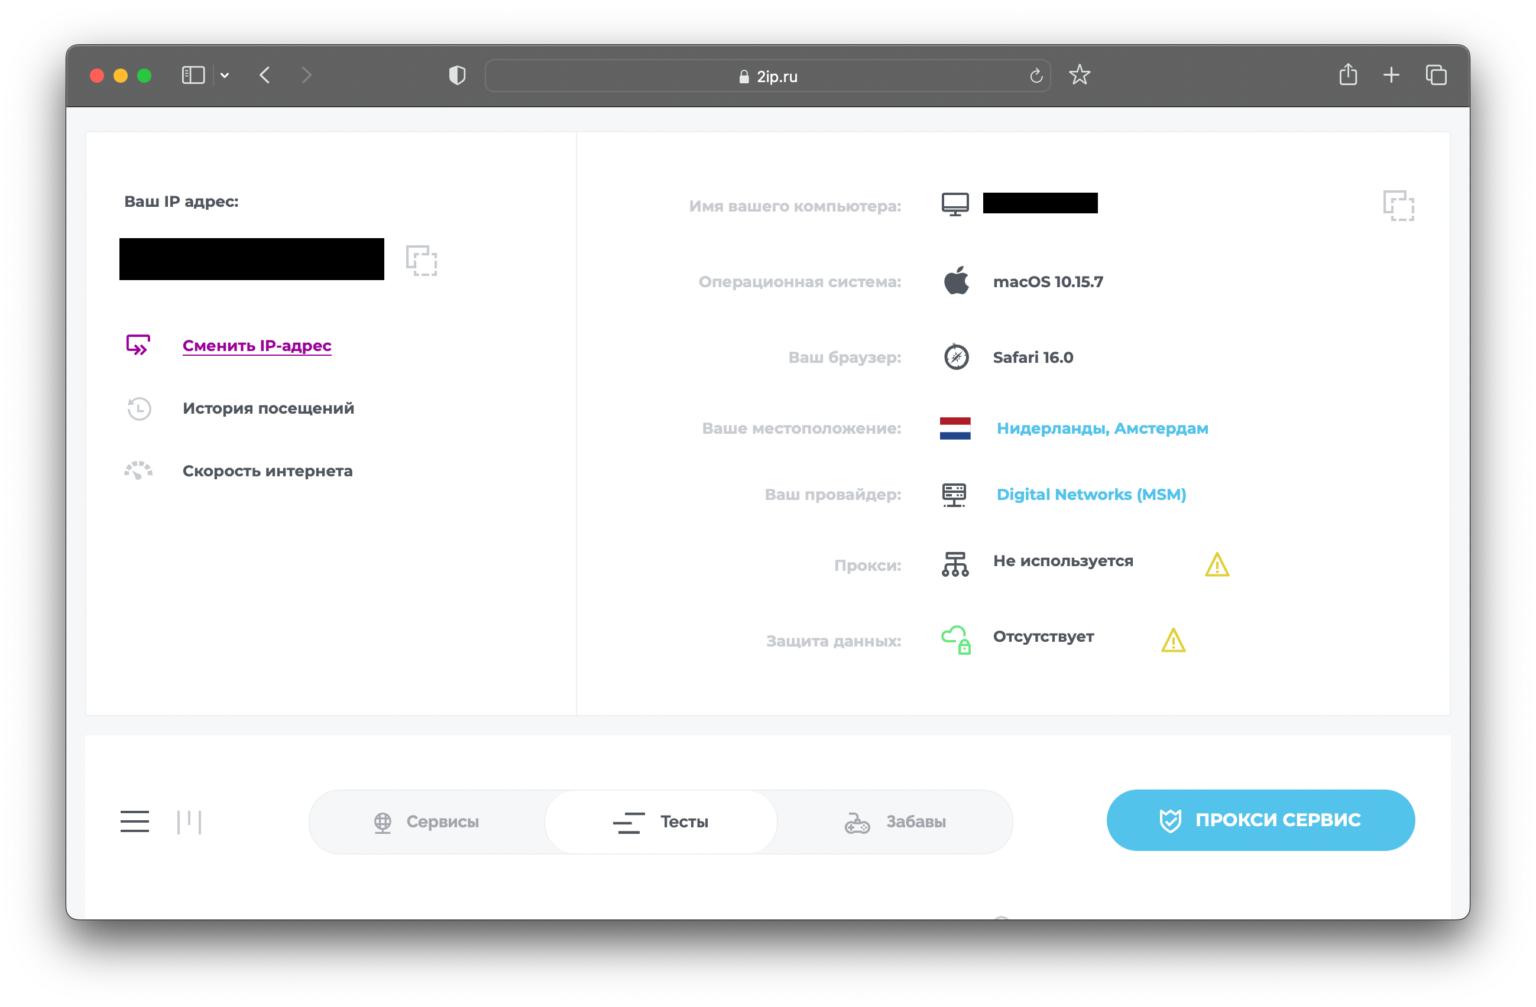
After setting up the connection, you can go to the service of checking IP-addresses and make sure that the traffic really goes through a VPN, as the IP-address is displayed as the address of the VPS, and as a location - the Netherlands:
Conclusion
That's how for only 99 rubles per month we get our own private VPN in Europe, which provides the possibility of web surfing at high speeds without traffic restrictions and over which there is no prospect of being blocked by Roskomnadzor.We also have full access to the VPS, which can be used for some other tasks or experiments. After all, even a weak configuration of the virtual server allows you to place some scripts on it and have access to them from the Internet.

